DIY – Magical Marina Mania

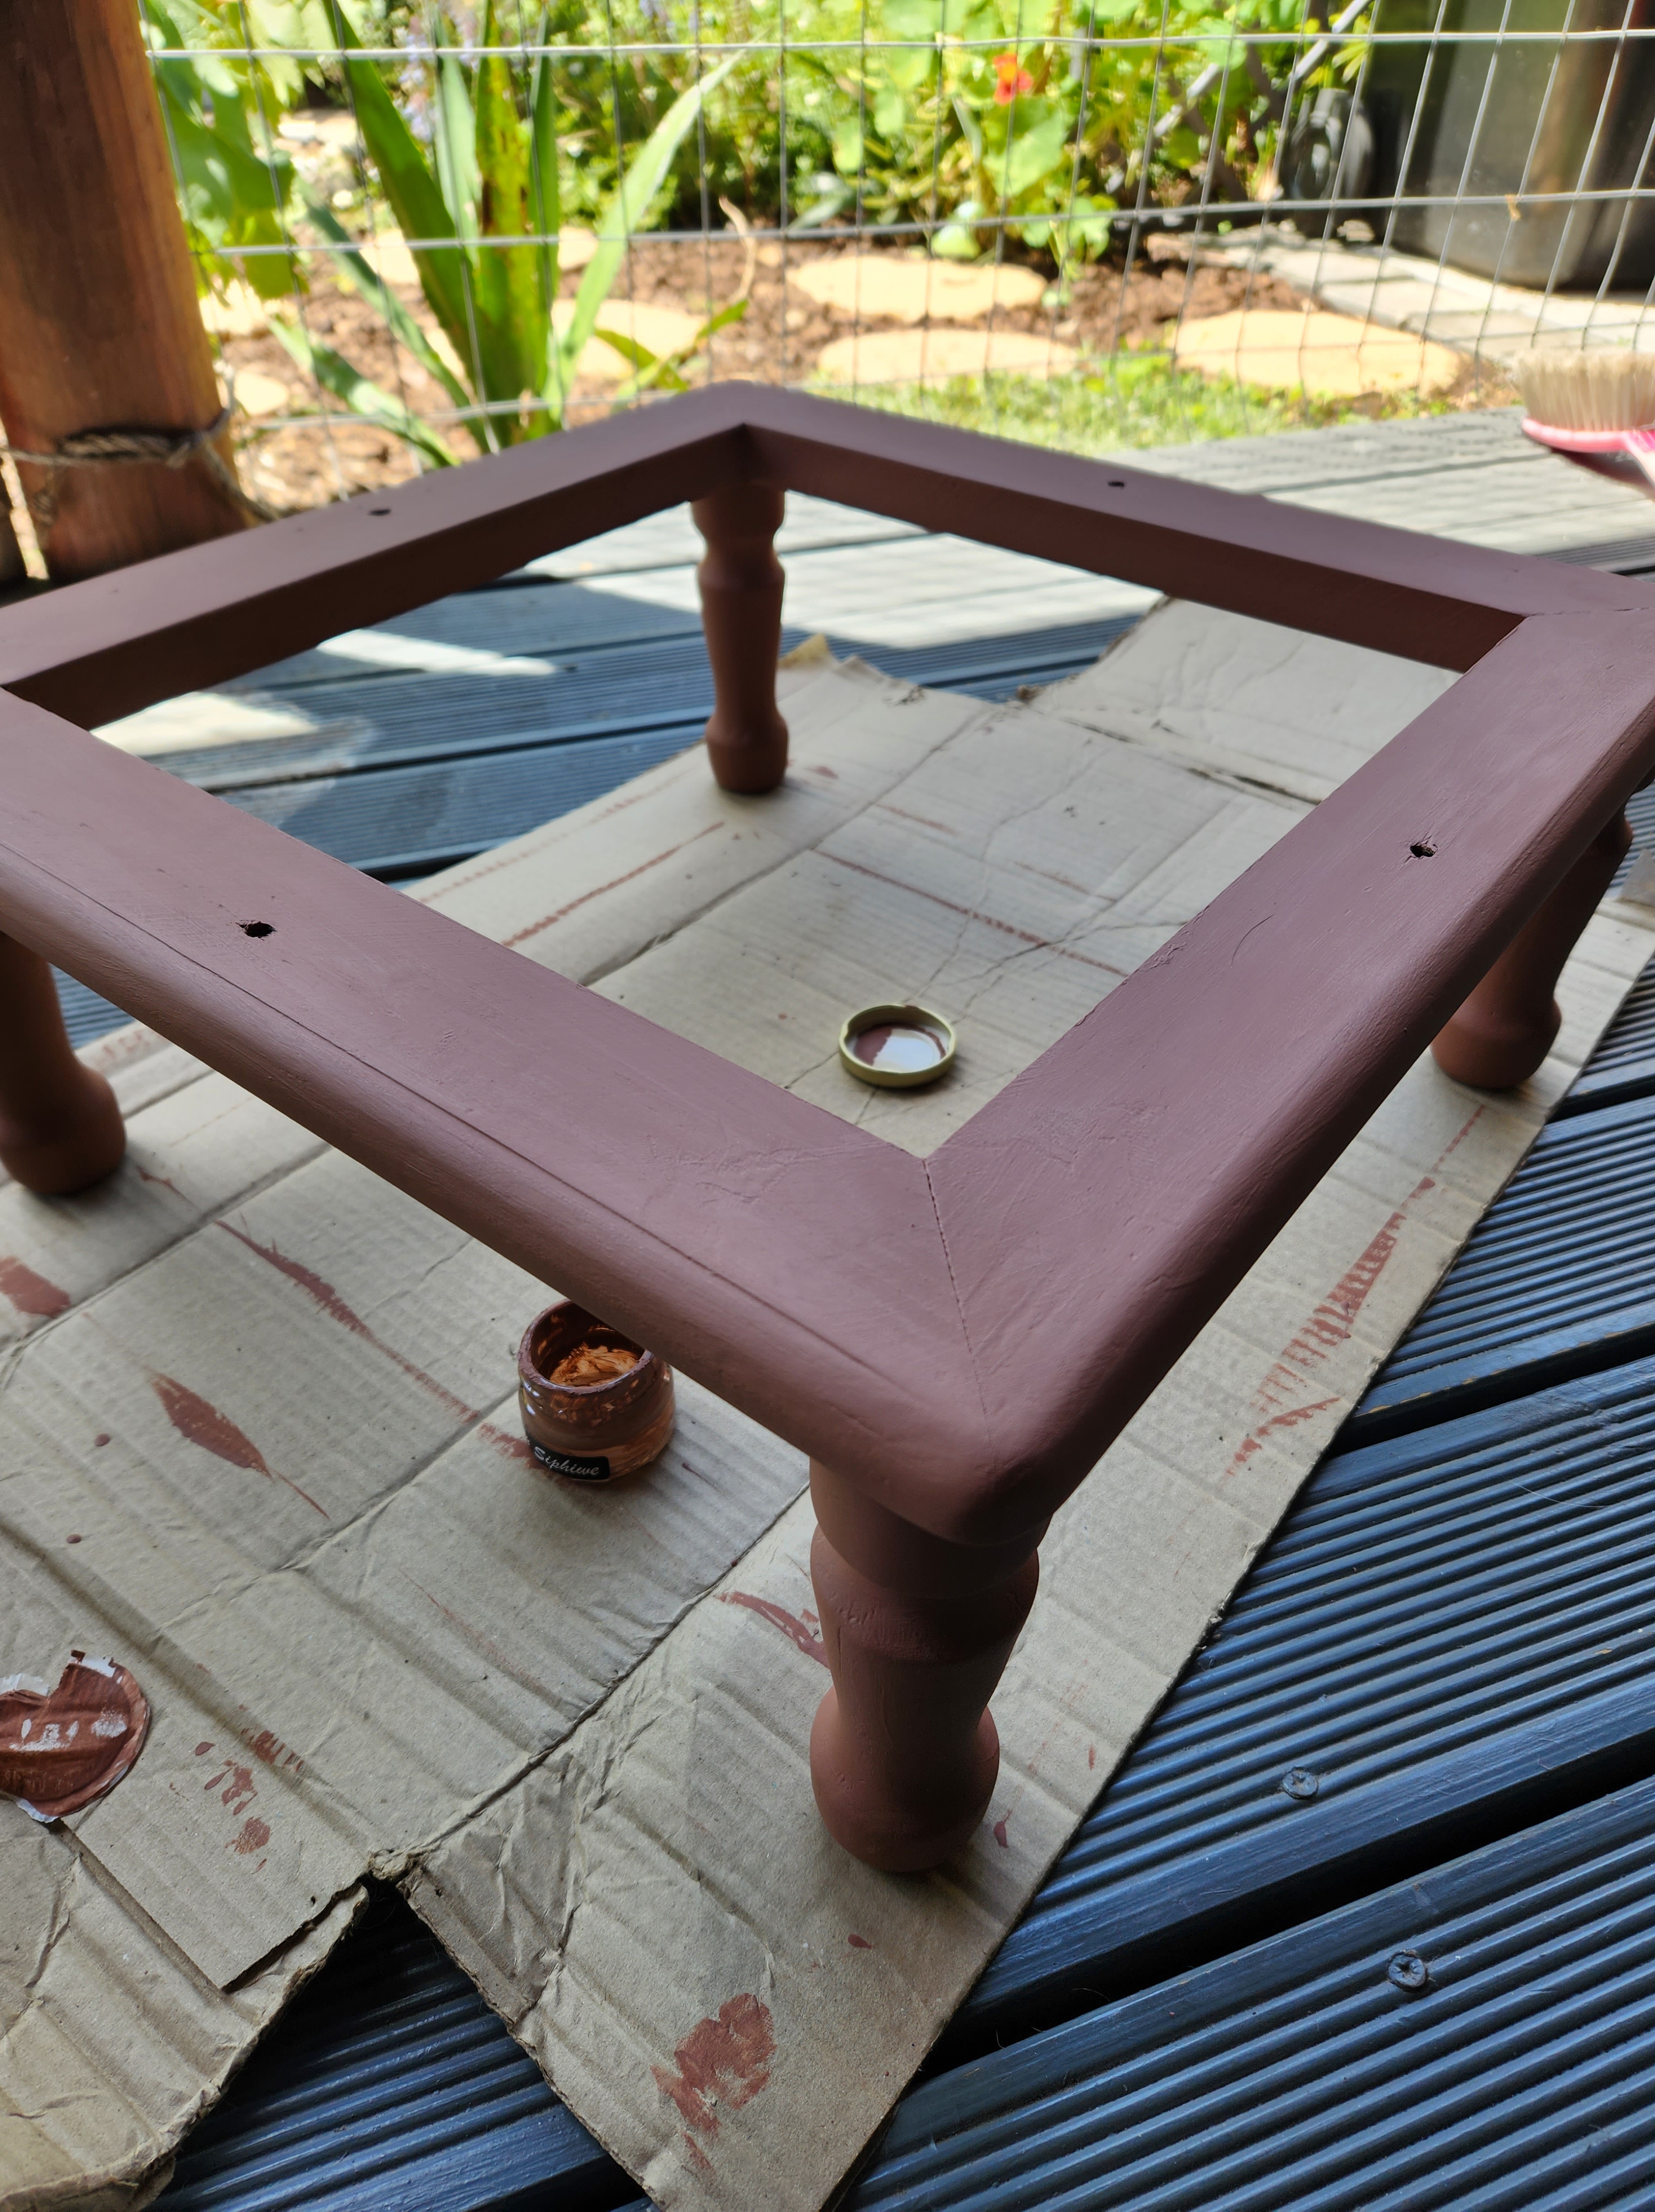
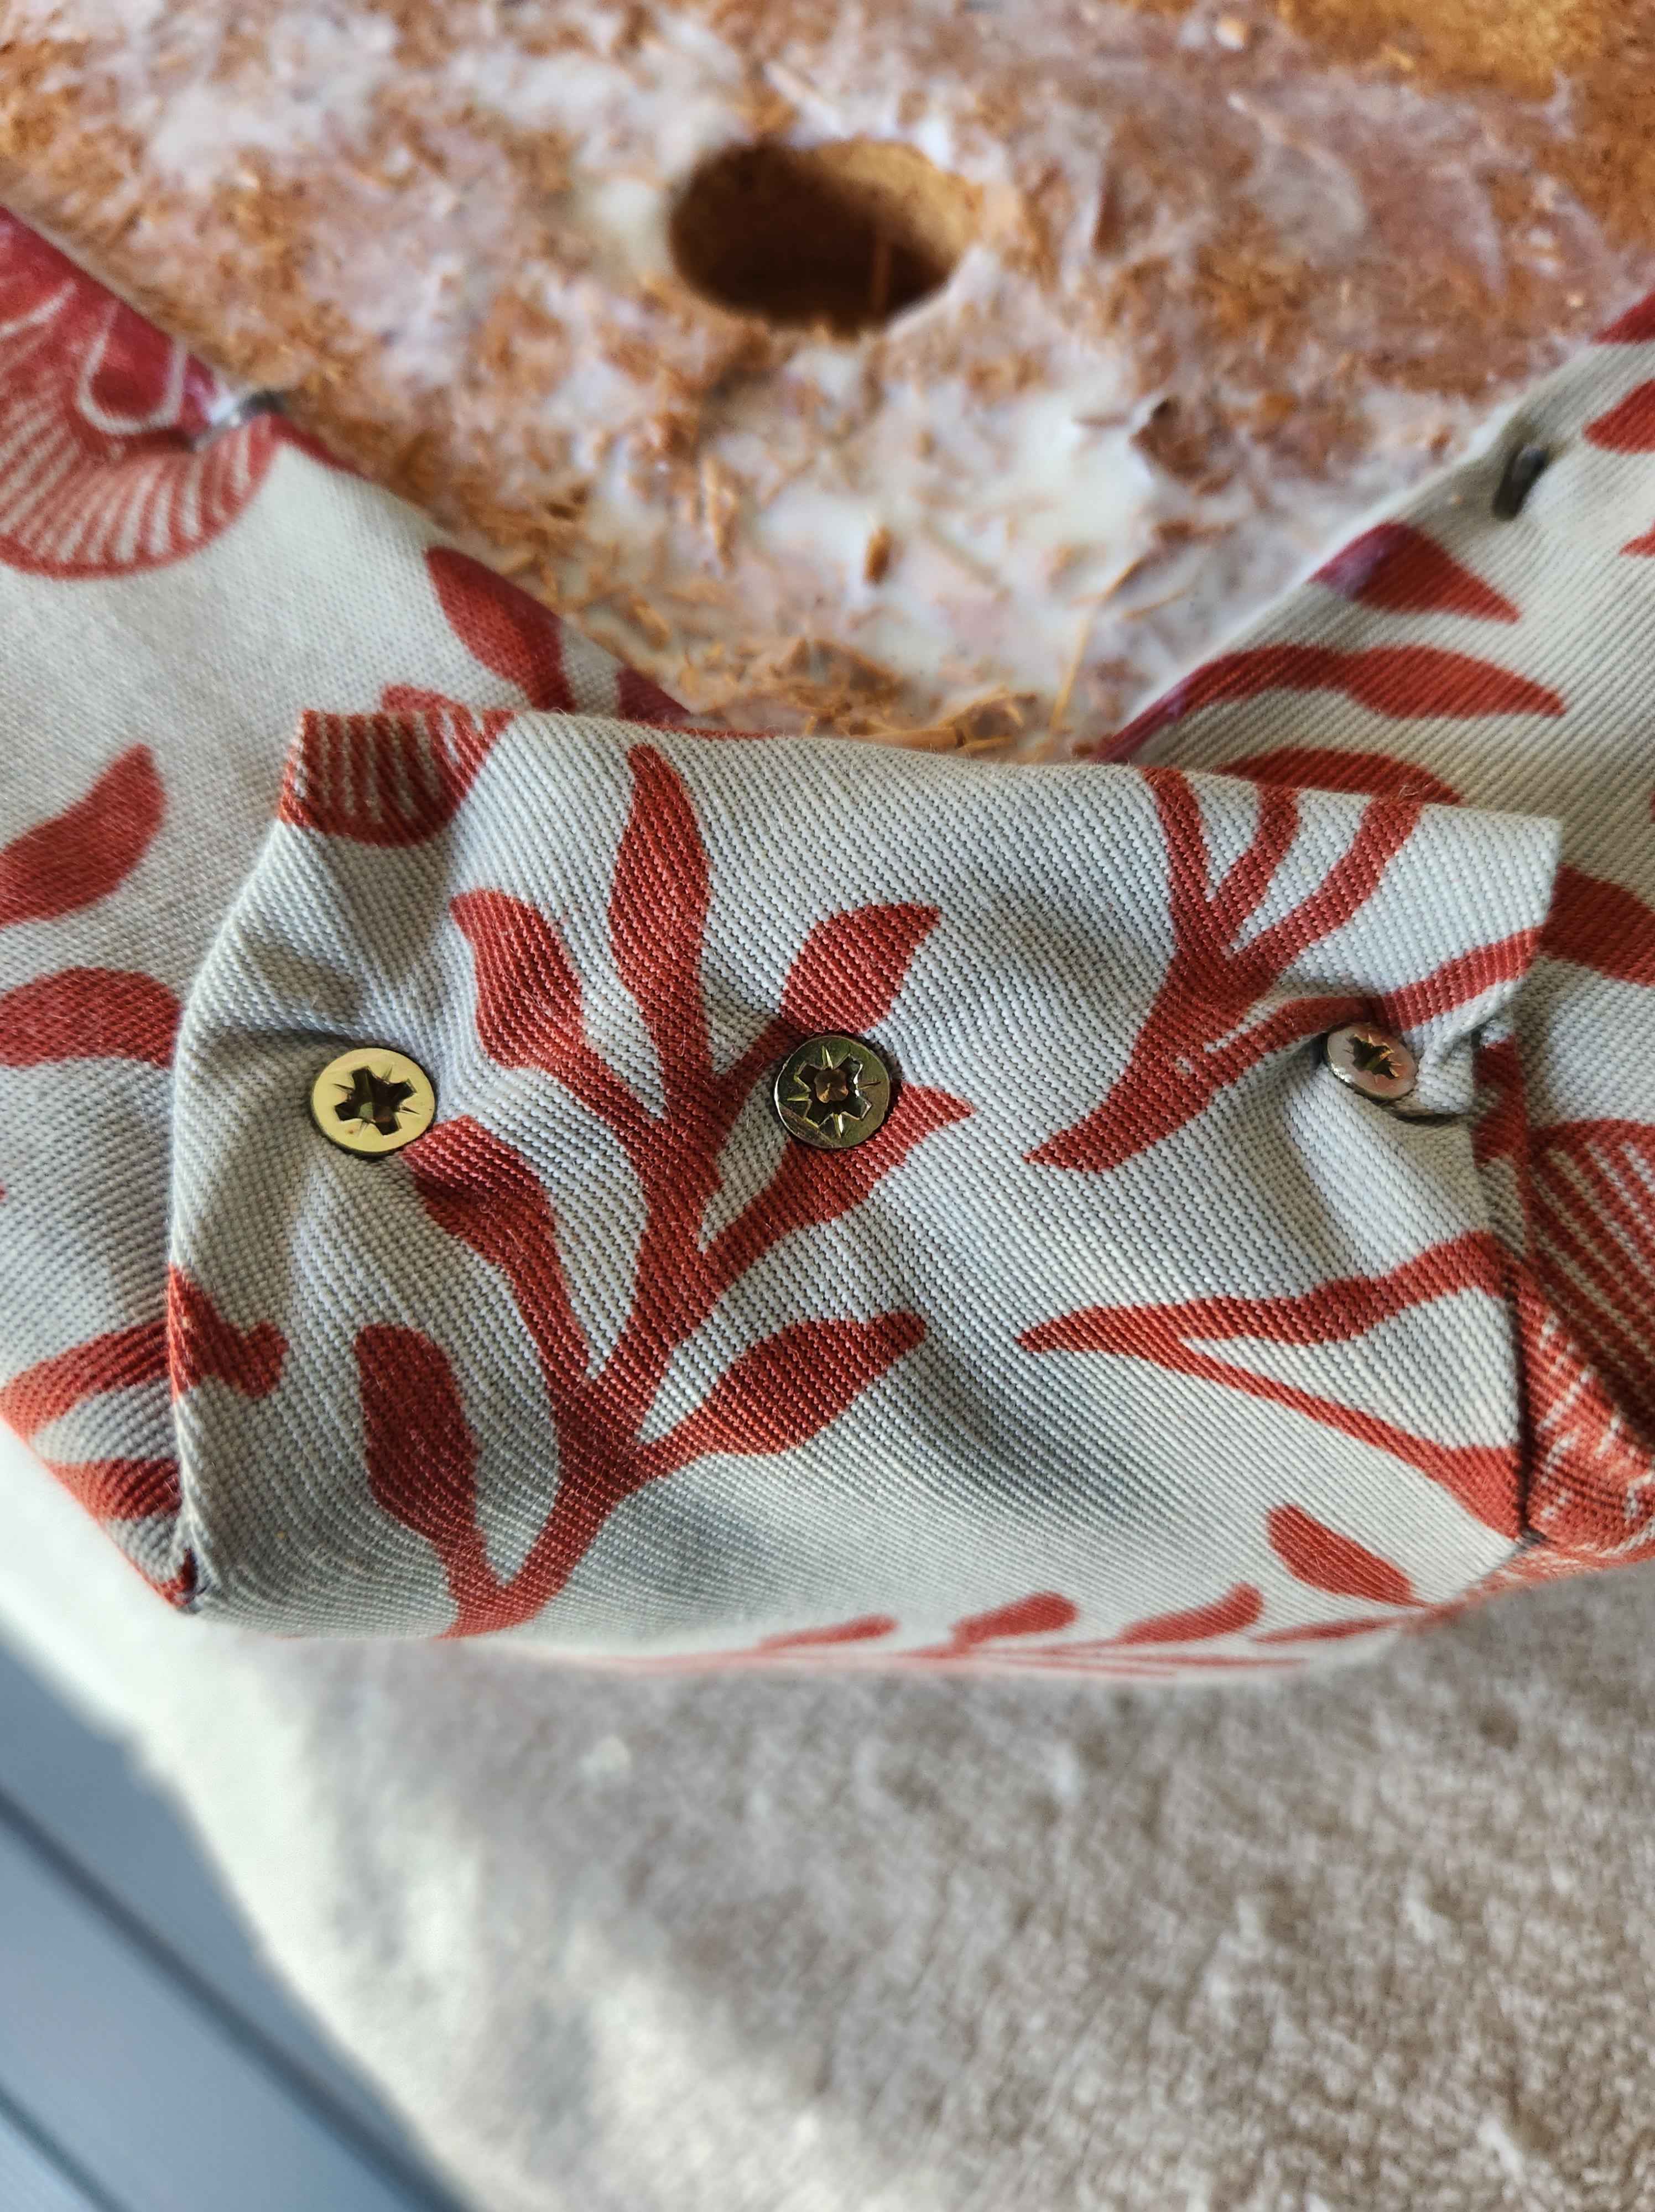
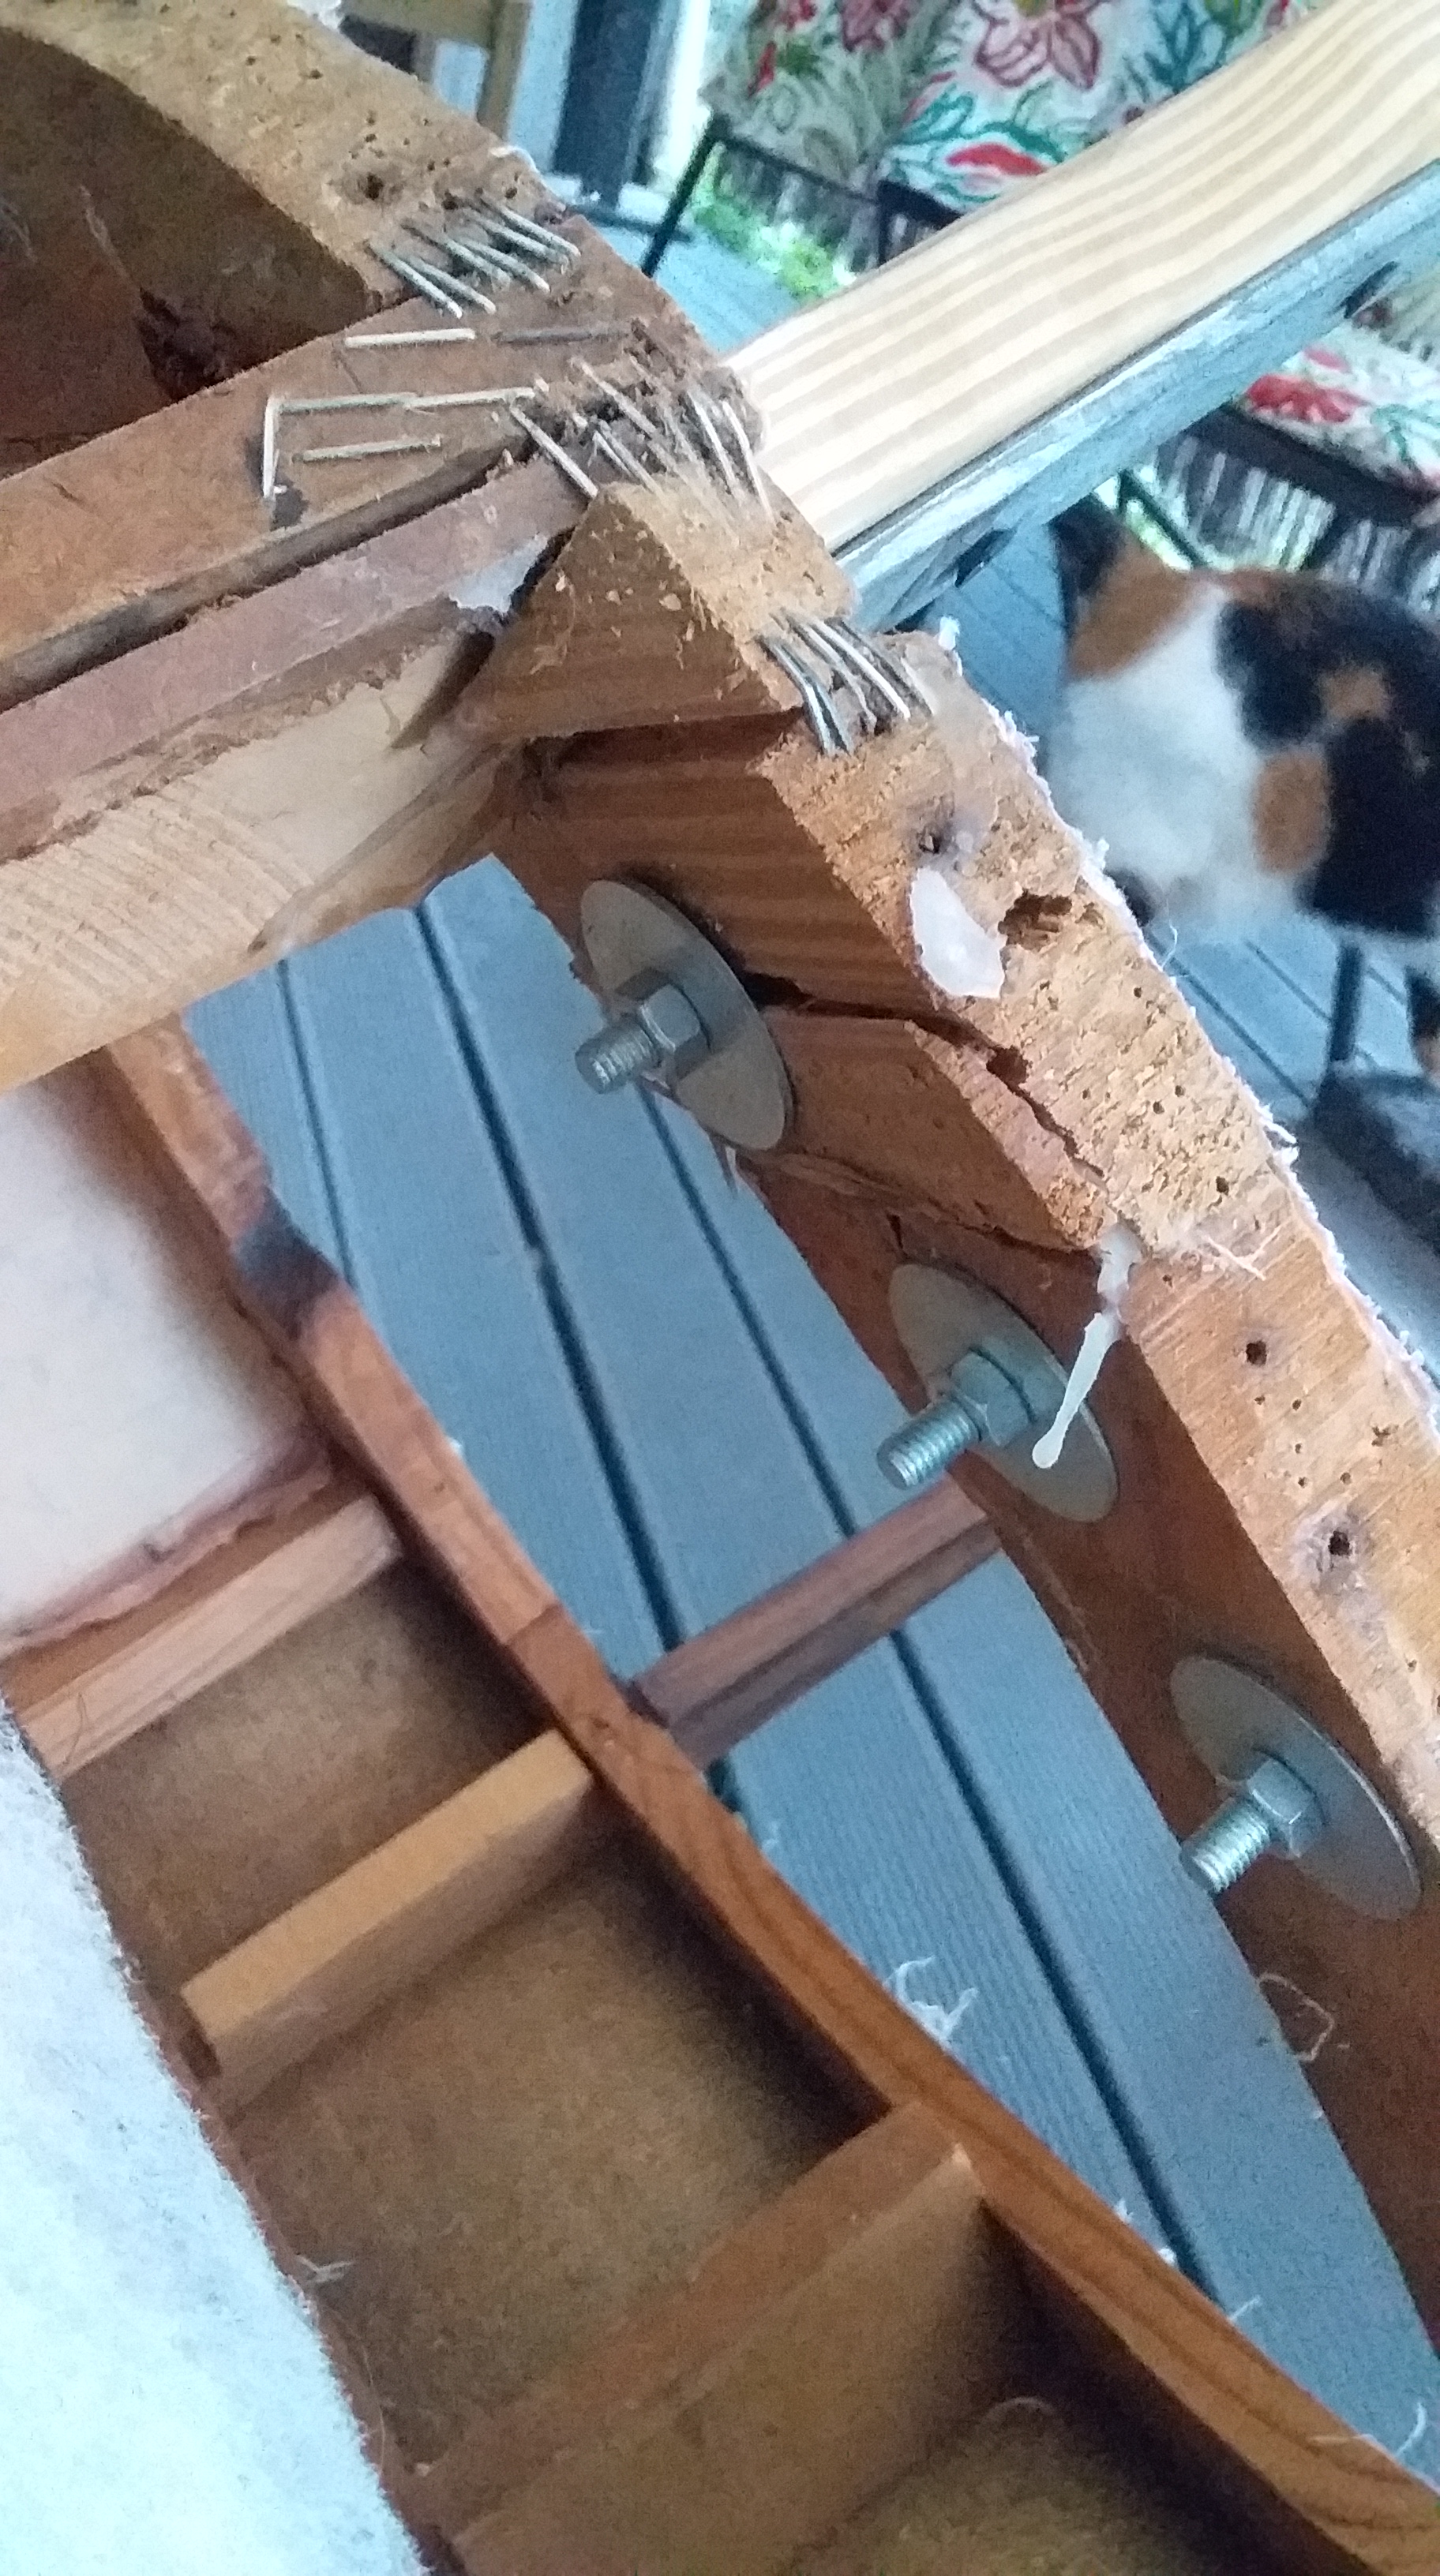
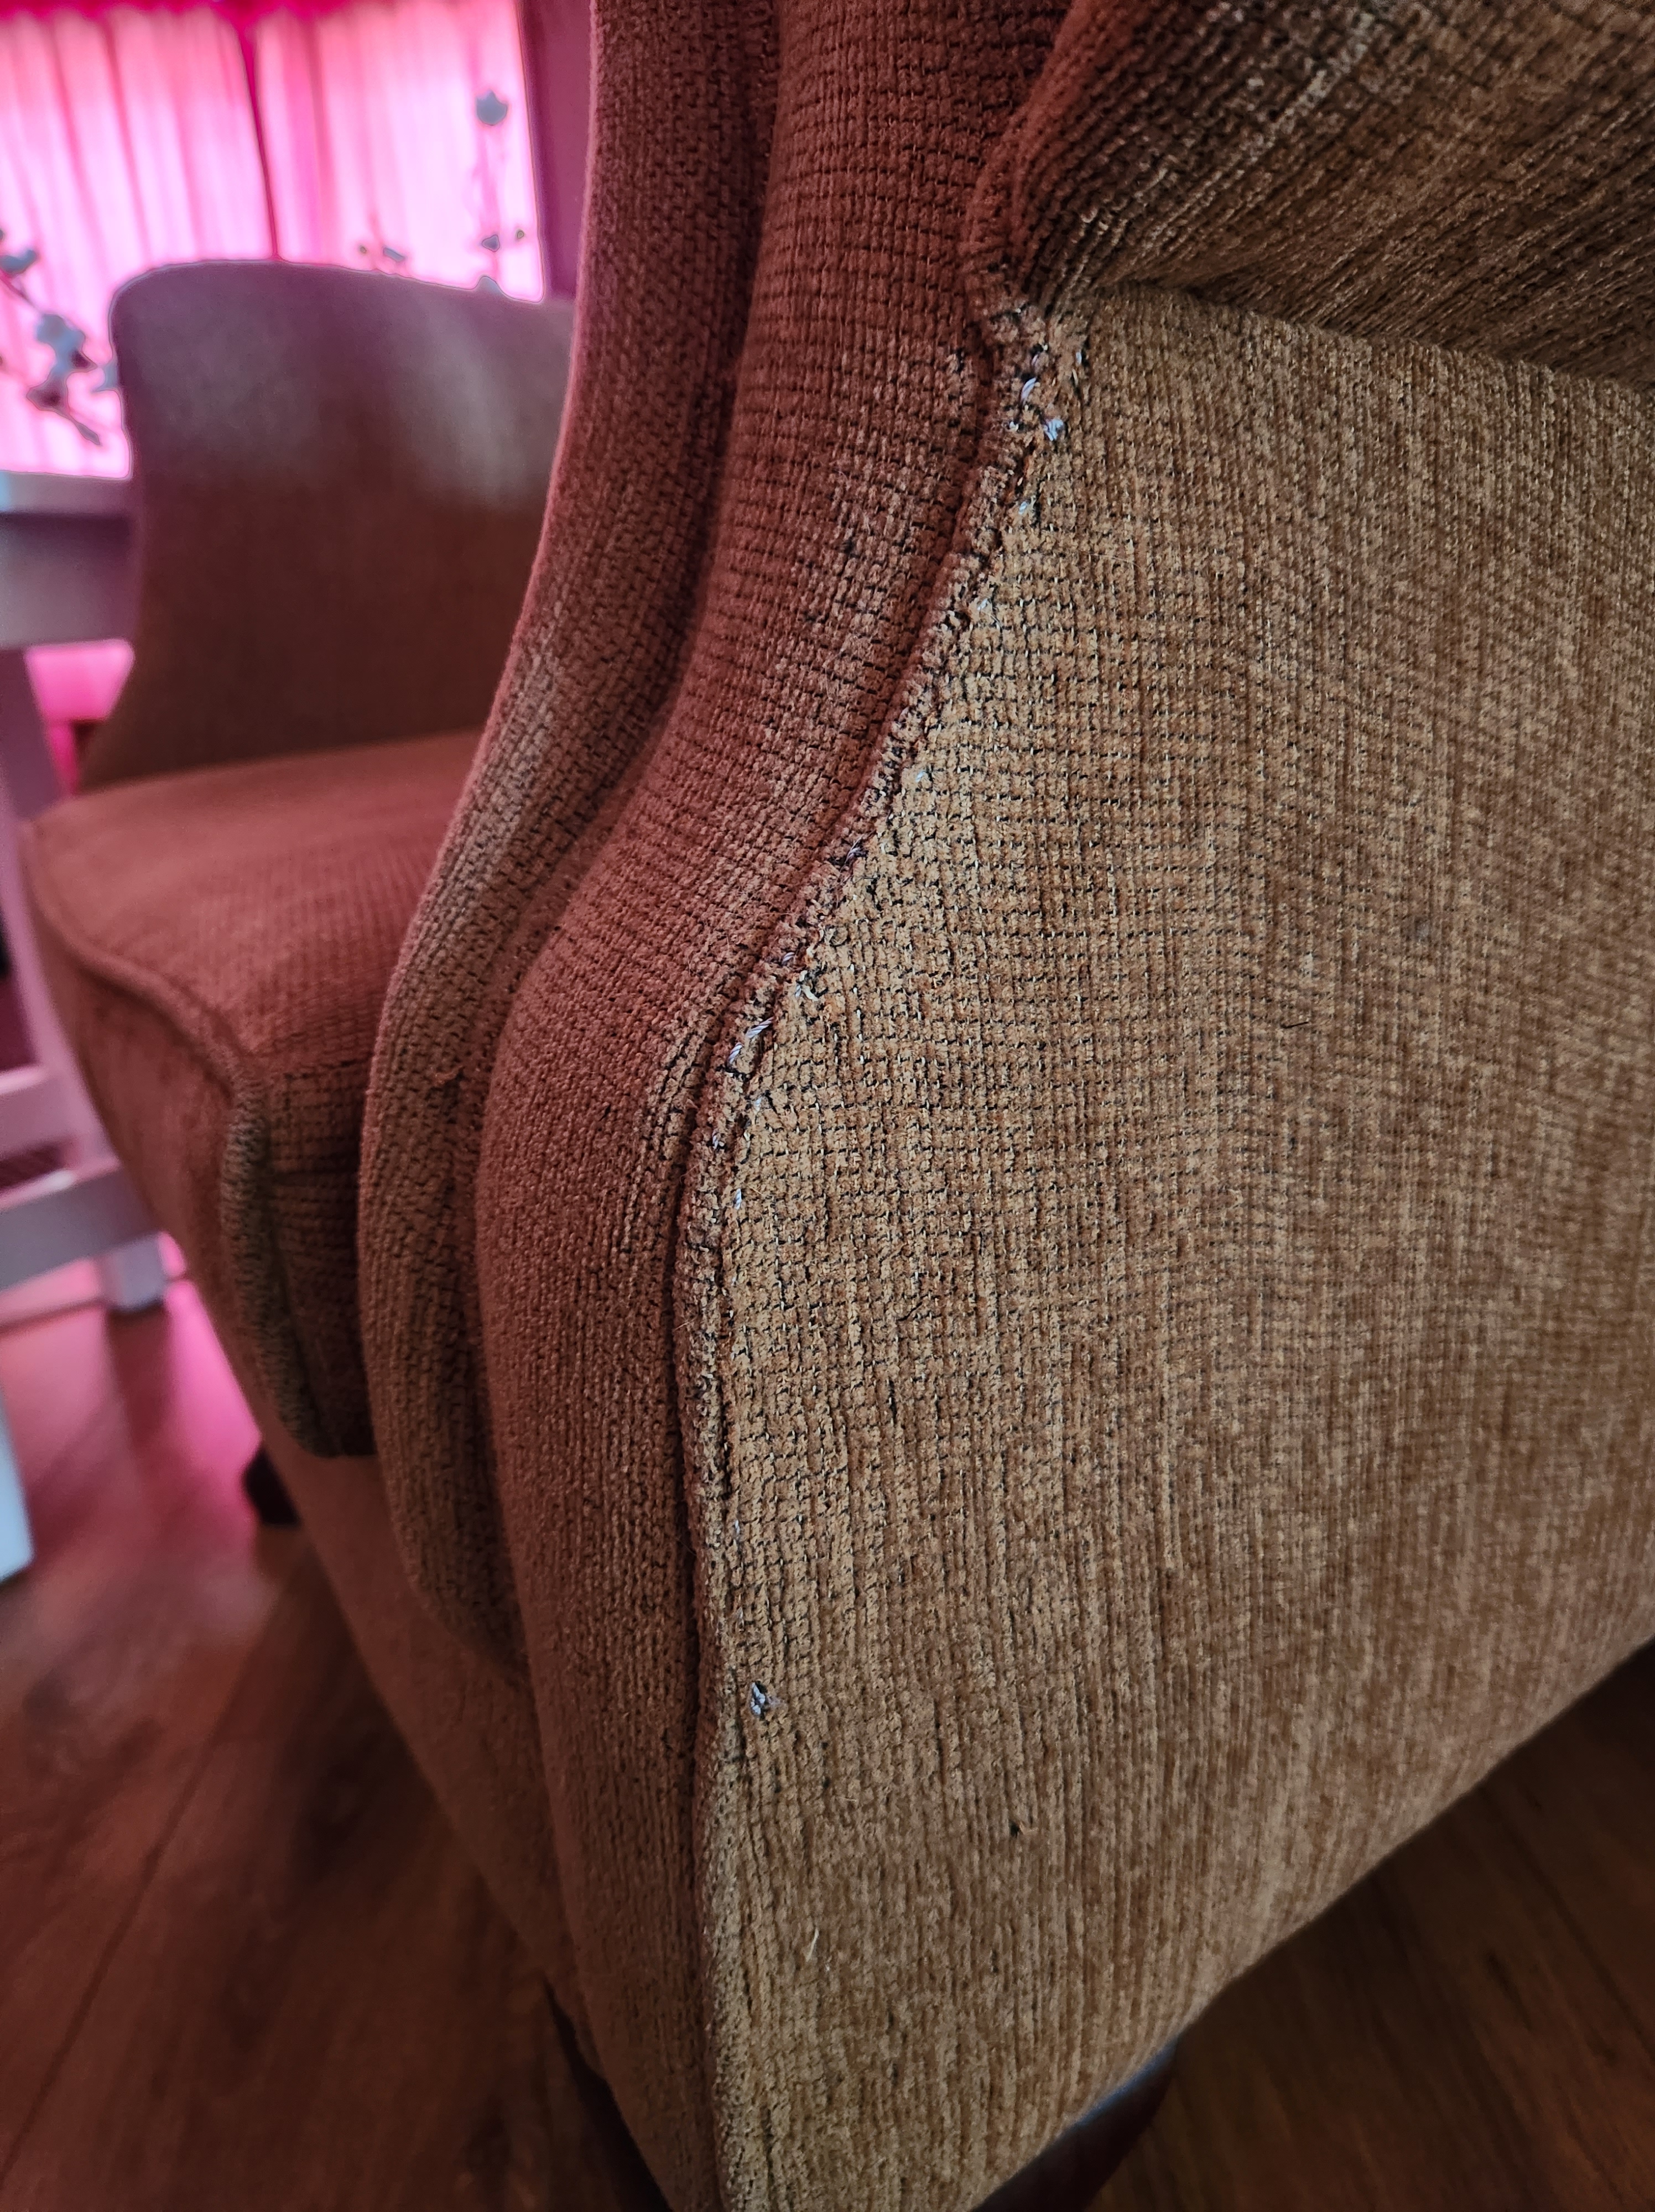
A while ago I made a very basic table from the left over wood as a cat feeding table – it’s didn’t work out, way too wobbly for the late night leaping to free after eating.

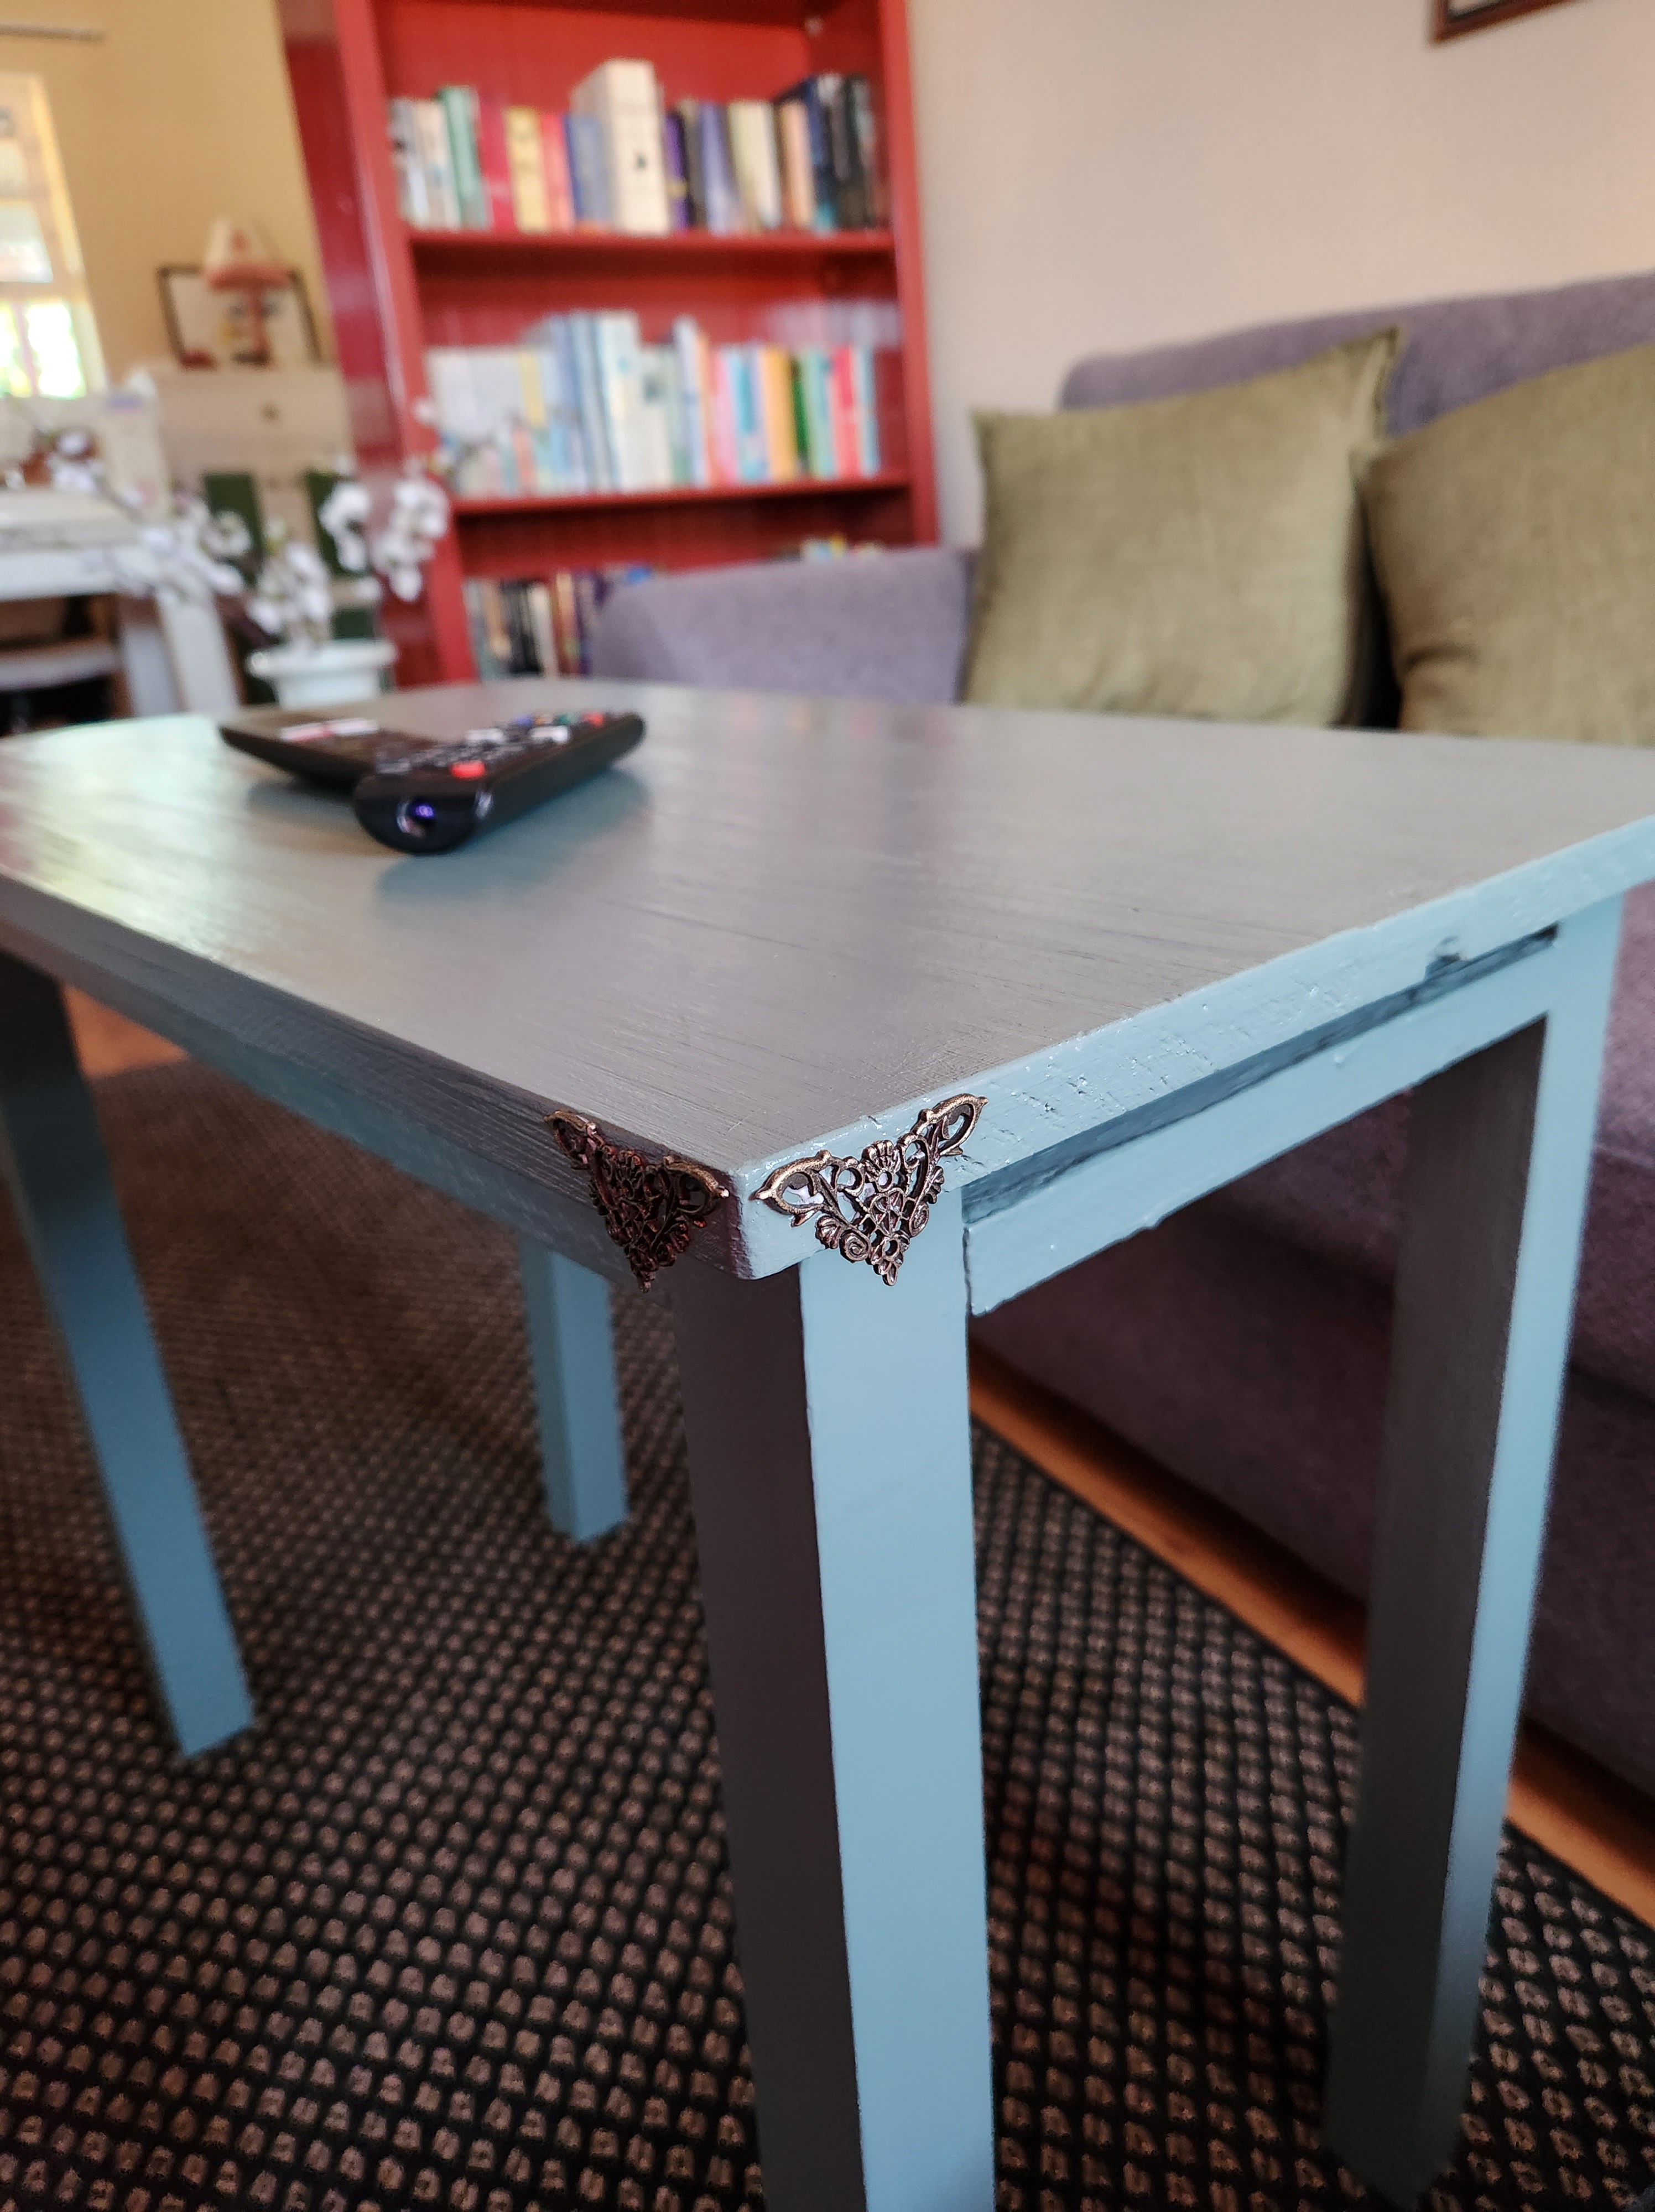
I moved it into the lounge and painted it with Magical Marina by Tjhoko Paints and added little corner pieces with No More Nails.

And I became obsessed with the colour.

All white furniture had to go! Magical Marina was IT!

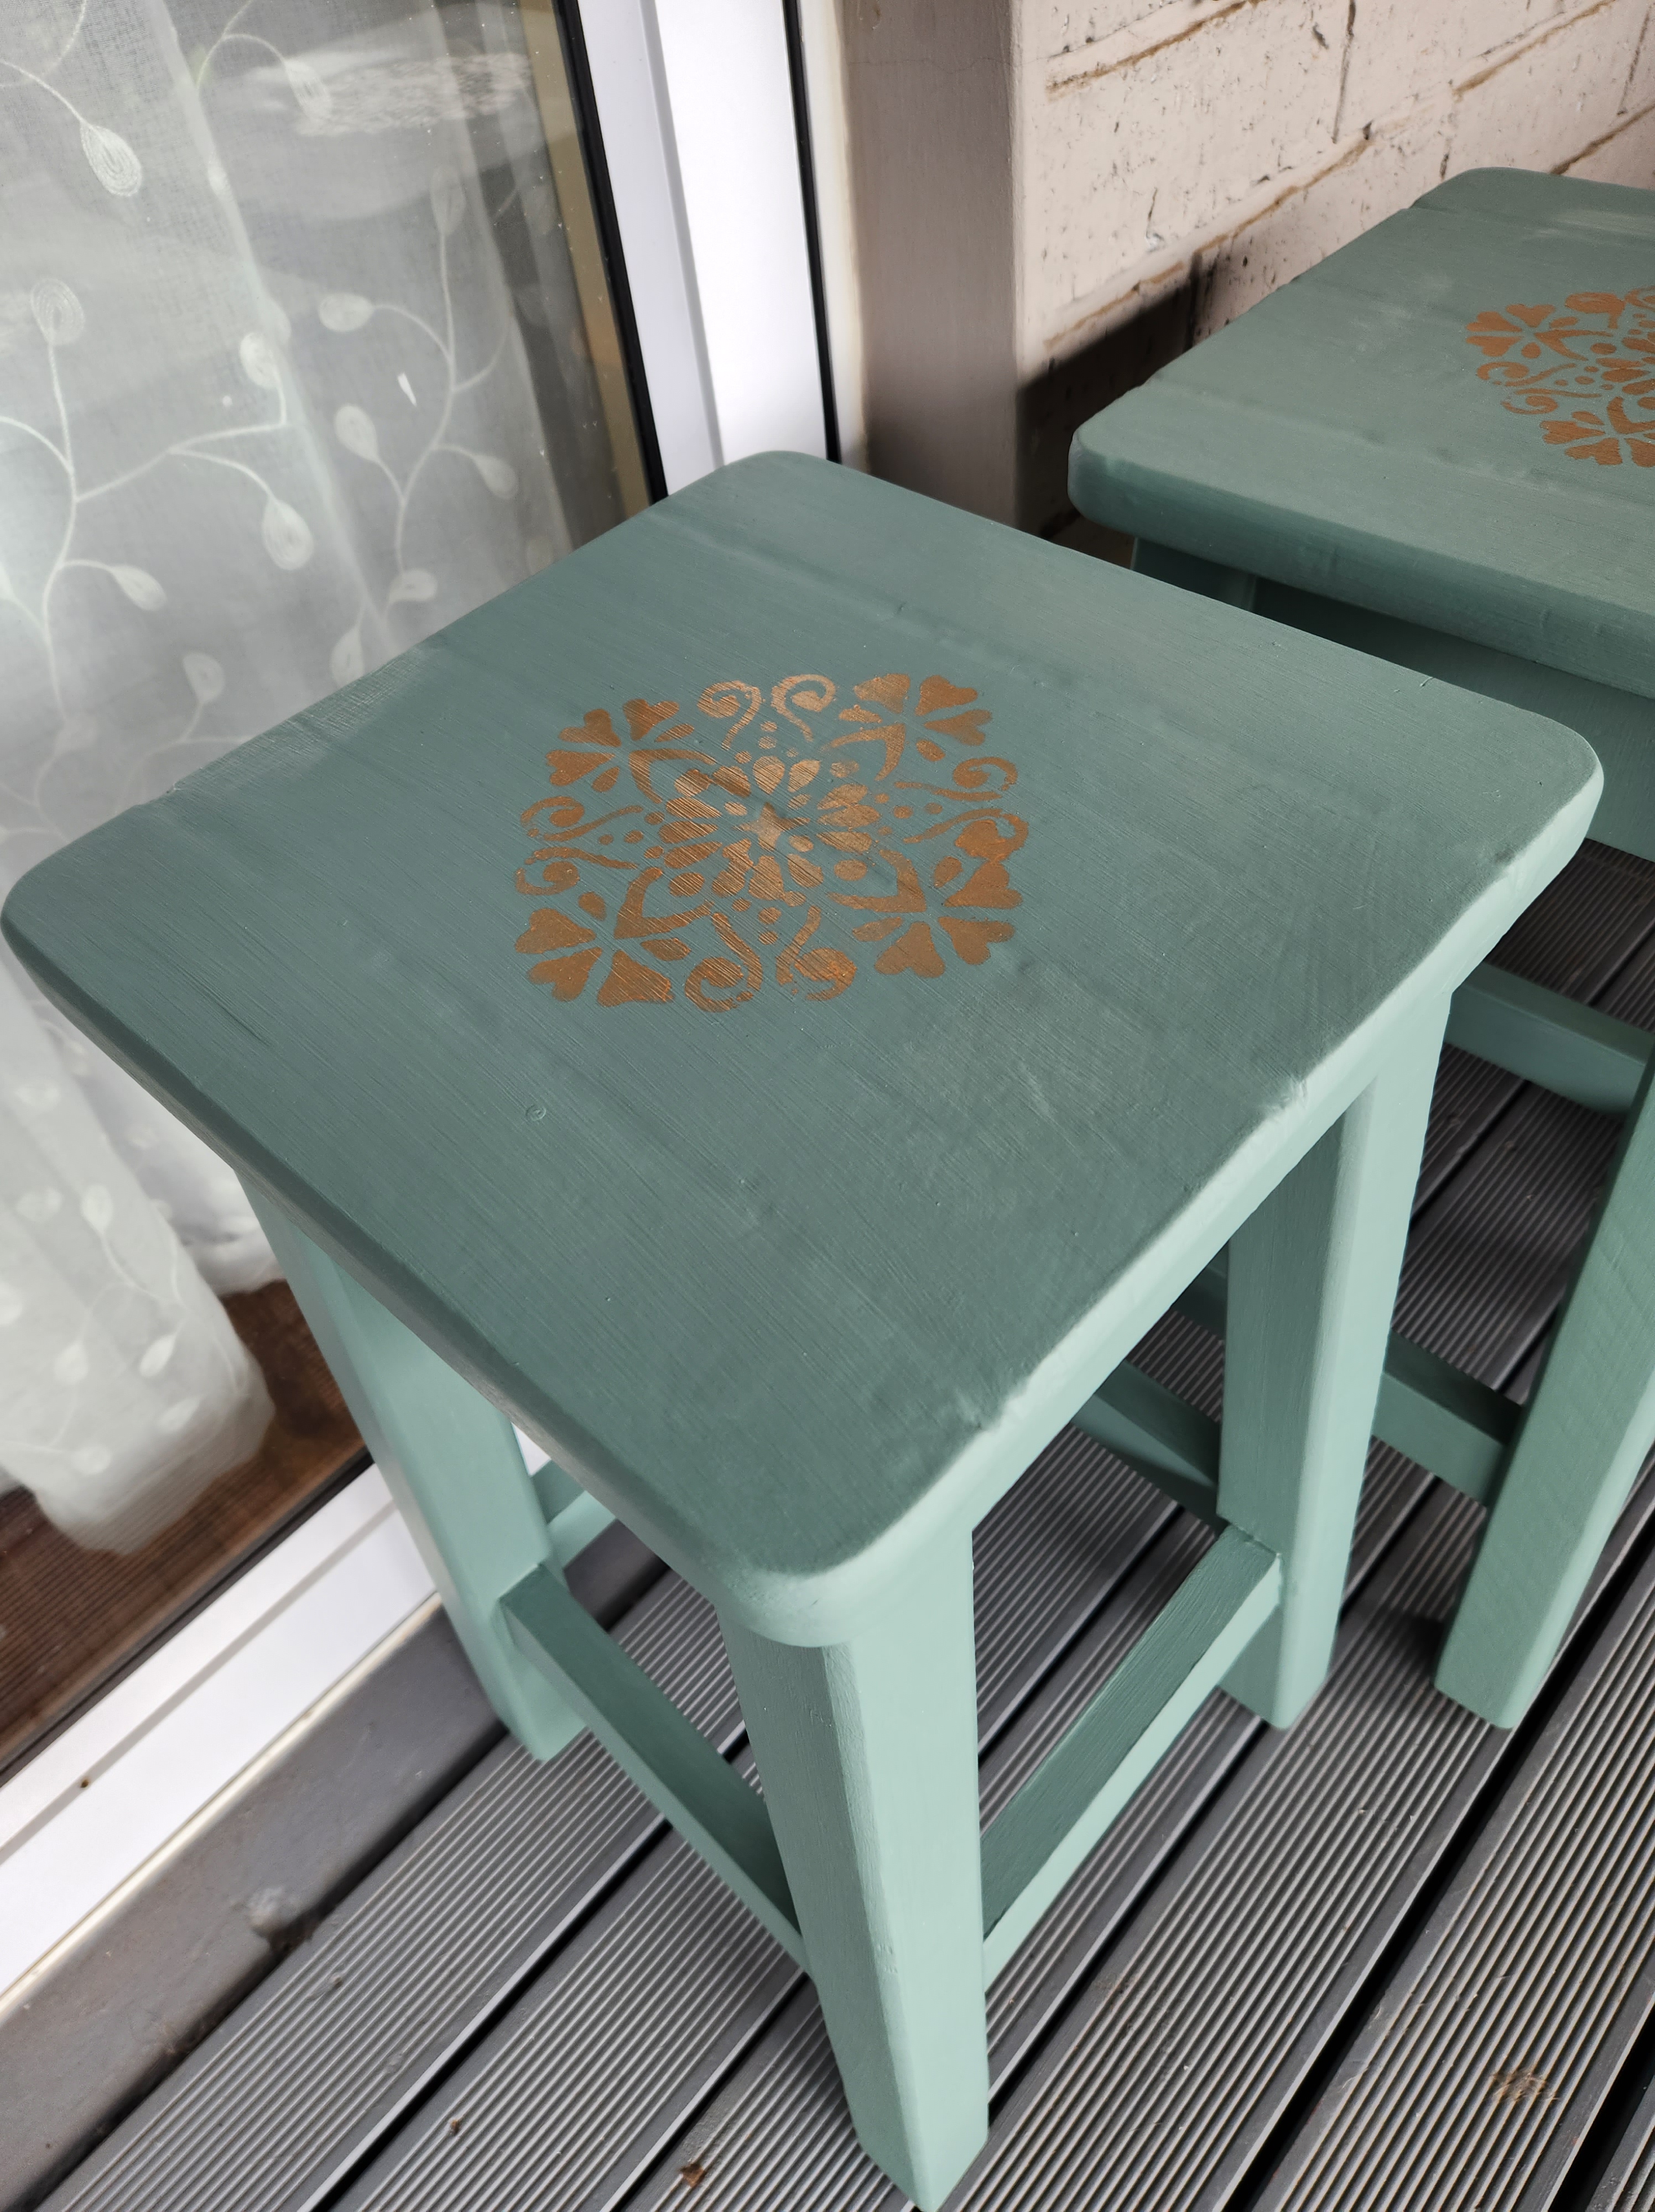
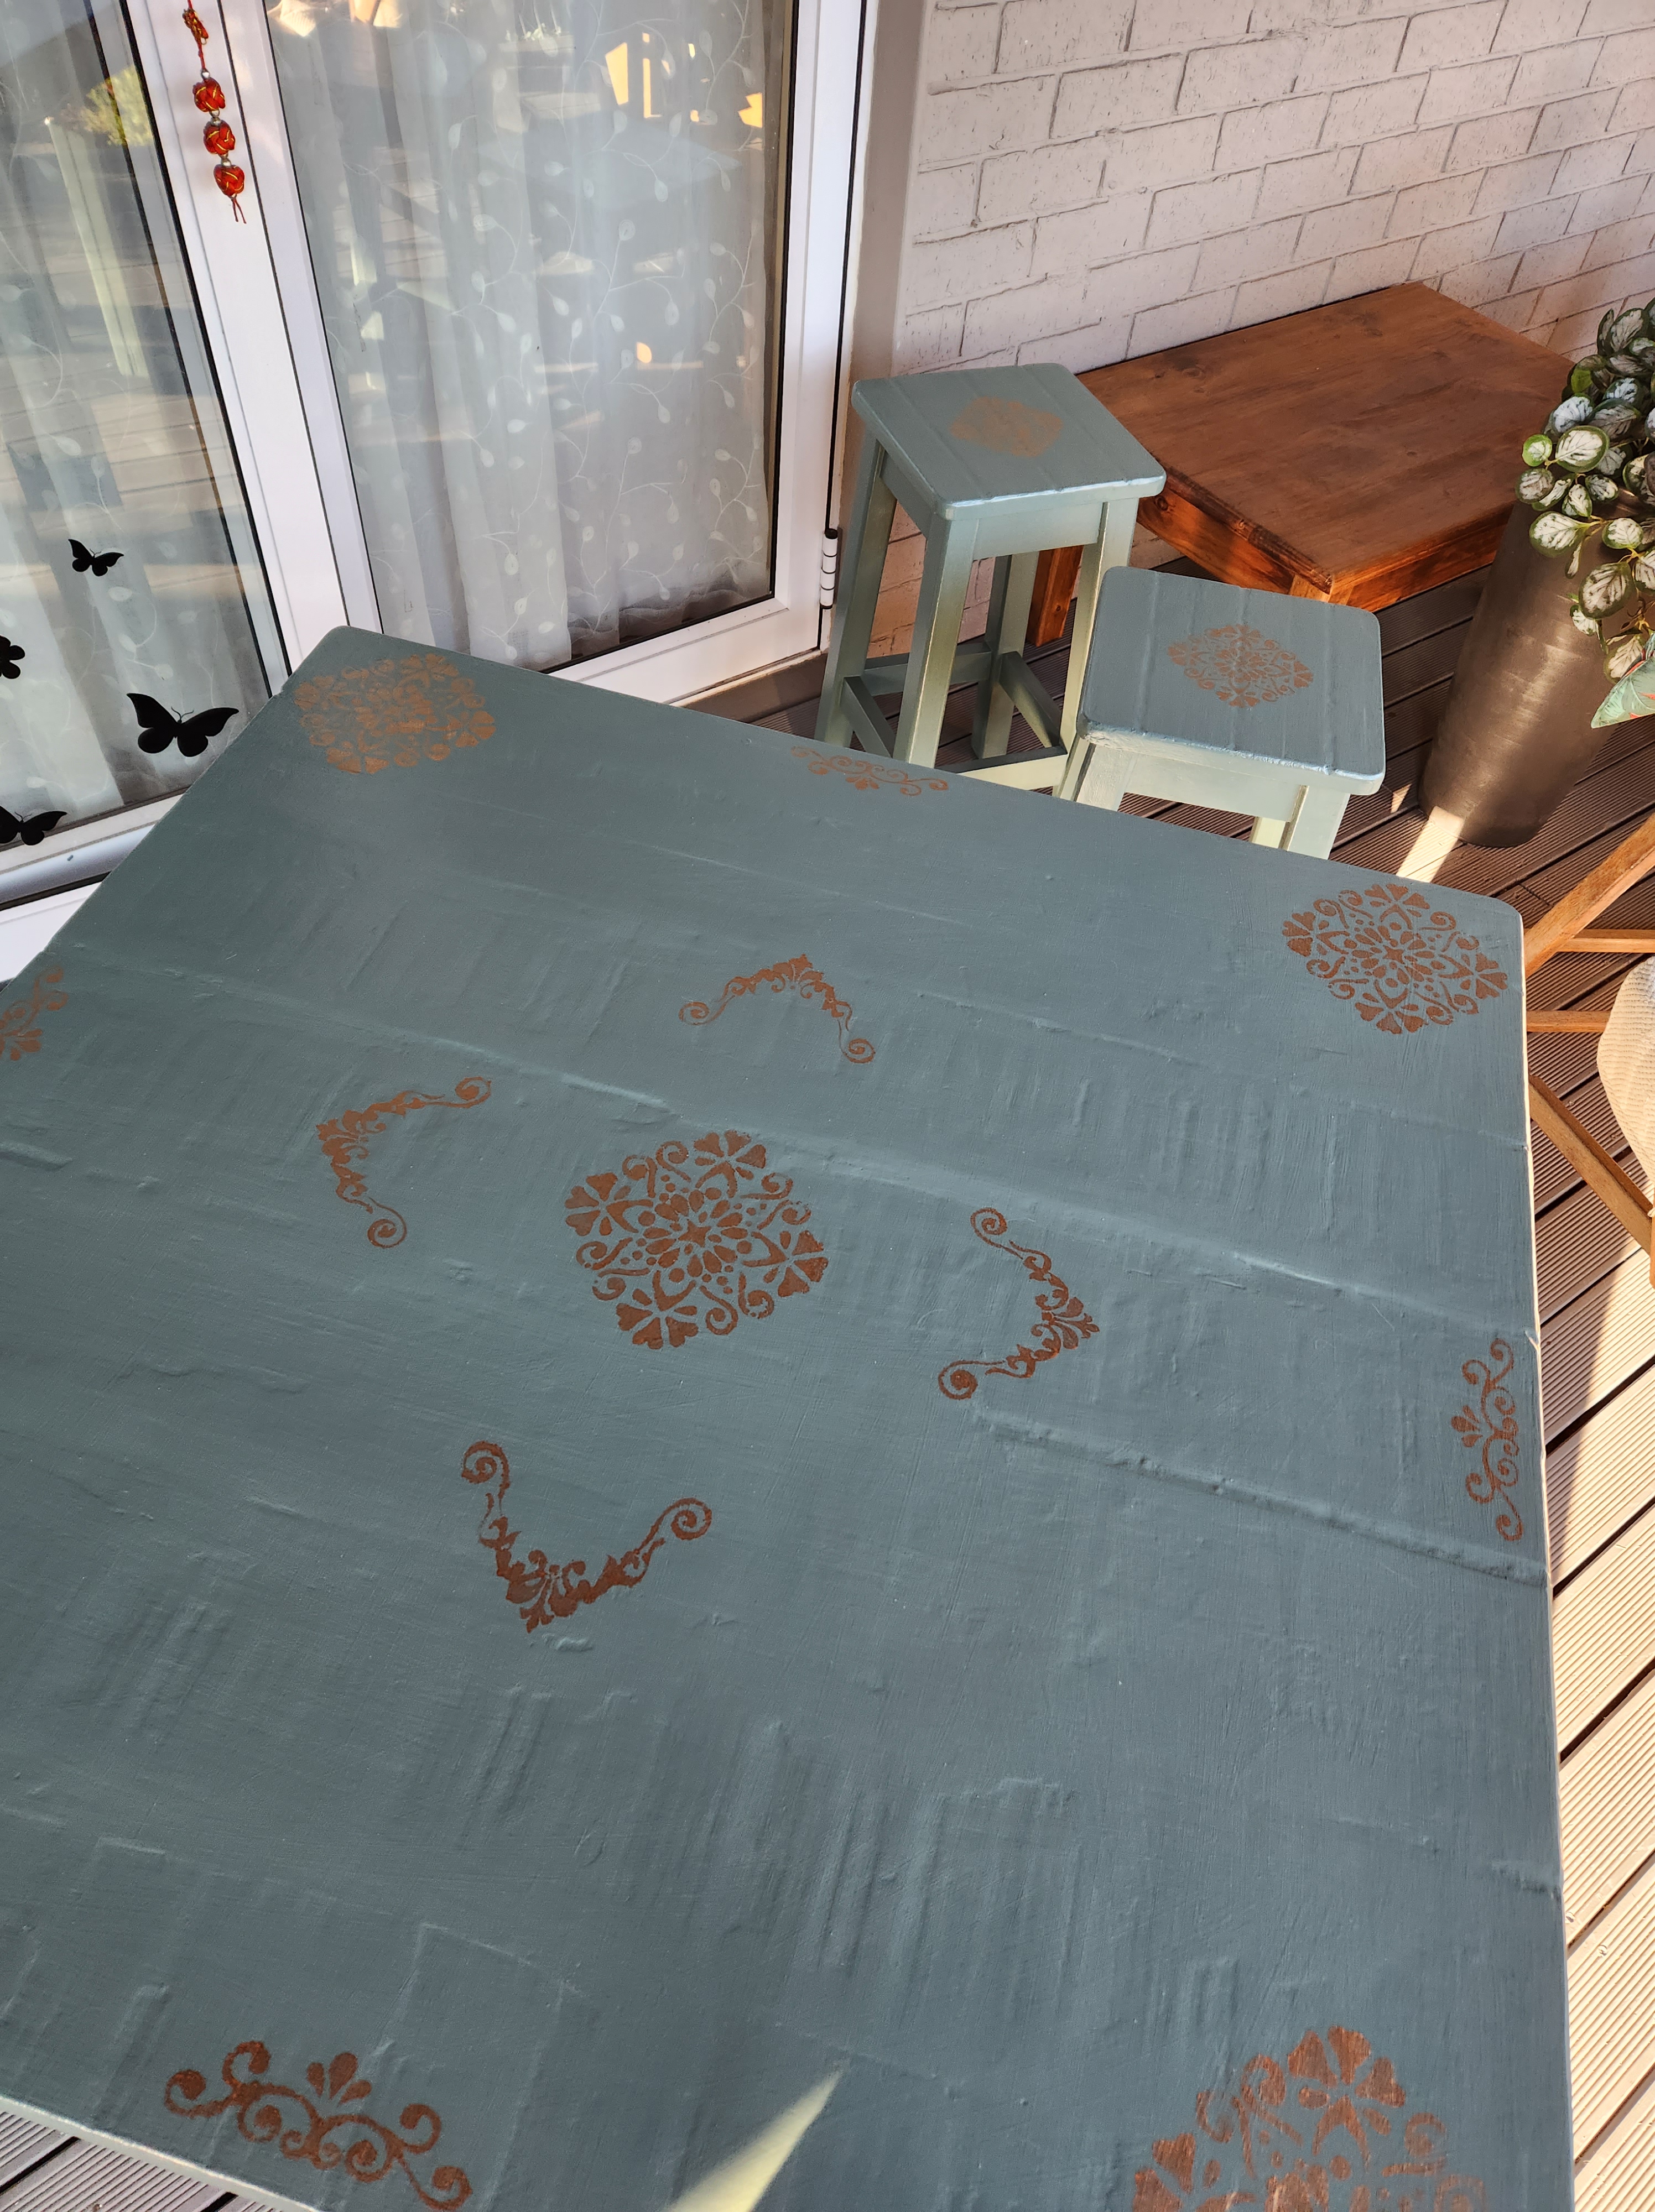
And some bronze stencilling. I did this project last as the table and stools were high gloss white and I anticipated a sanding struggle. I was right and I still didn’t get it all… The stencilling on the stools only occured to me when I saw the stencil in the shop. Came out better than I thought.

My greatly improved office space.

But I was not finished the green.

Due to loadshedding, I needed a UPS for my router. I’d been undecided for years! Mainly due to expense of installing an entire alternative supply system, but then I discovered router UPS (but still took some time to buy…)

UPS works great even though it has the shortest possible cables – 10cm is all you got to work with. I needed a table to put it on.

Unlike the years it took me to get the UPS sorted, the table was the next week at a charity shop.

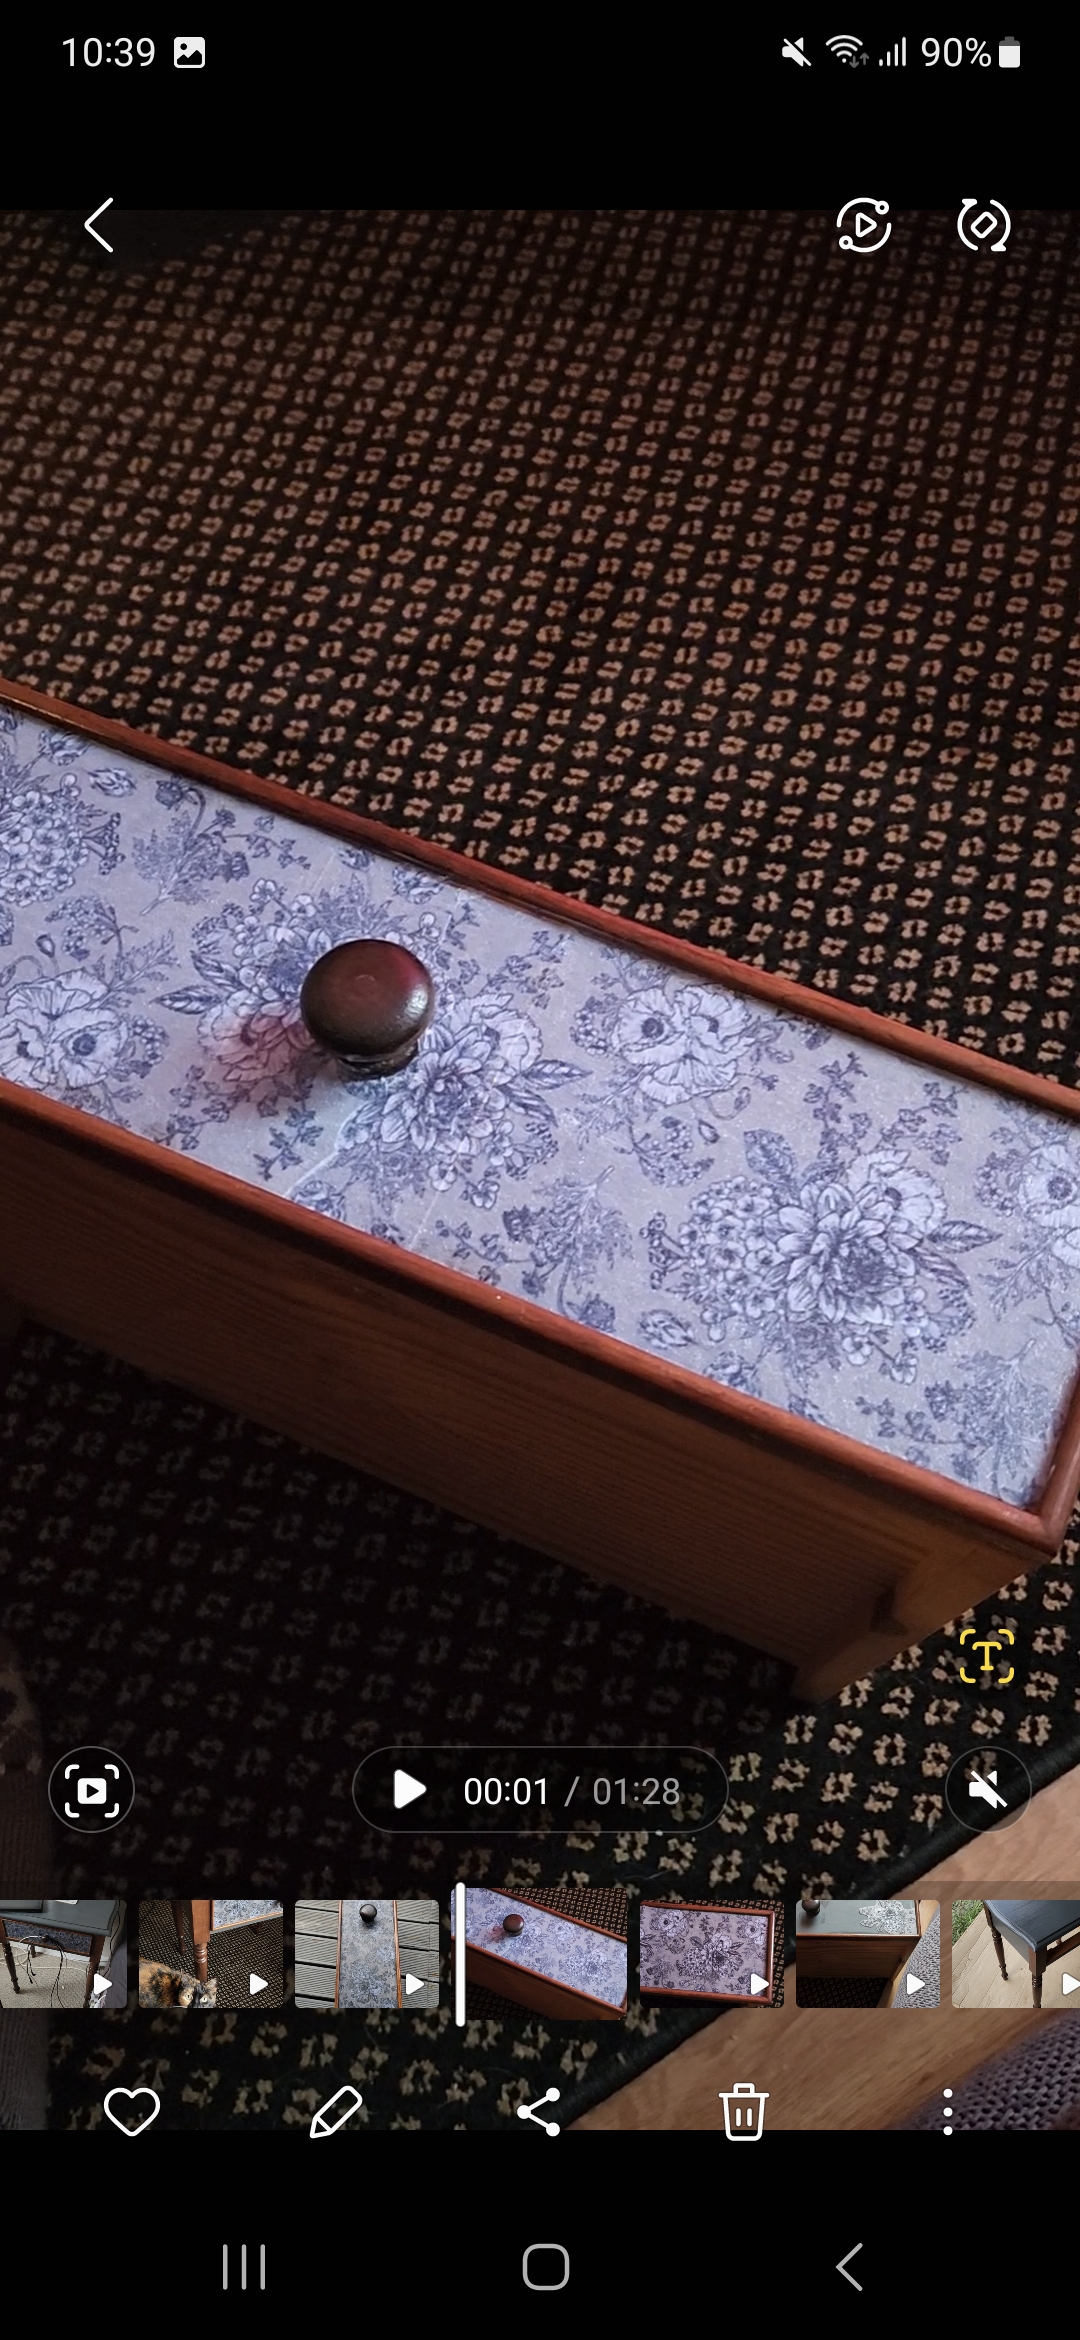
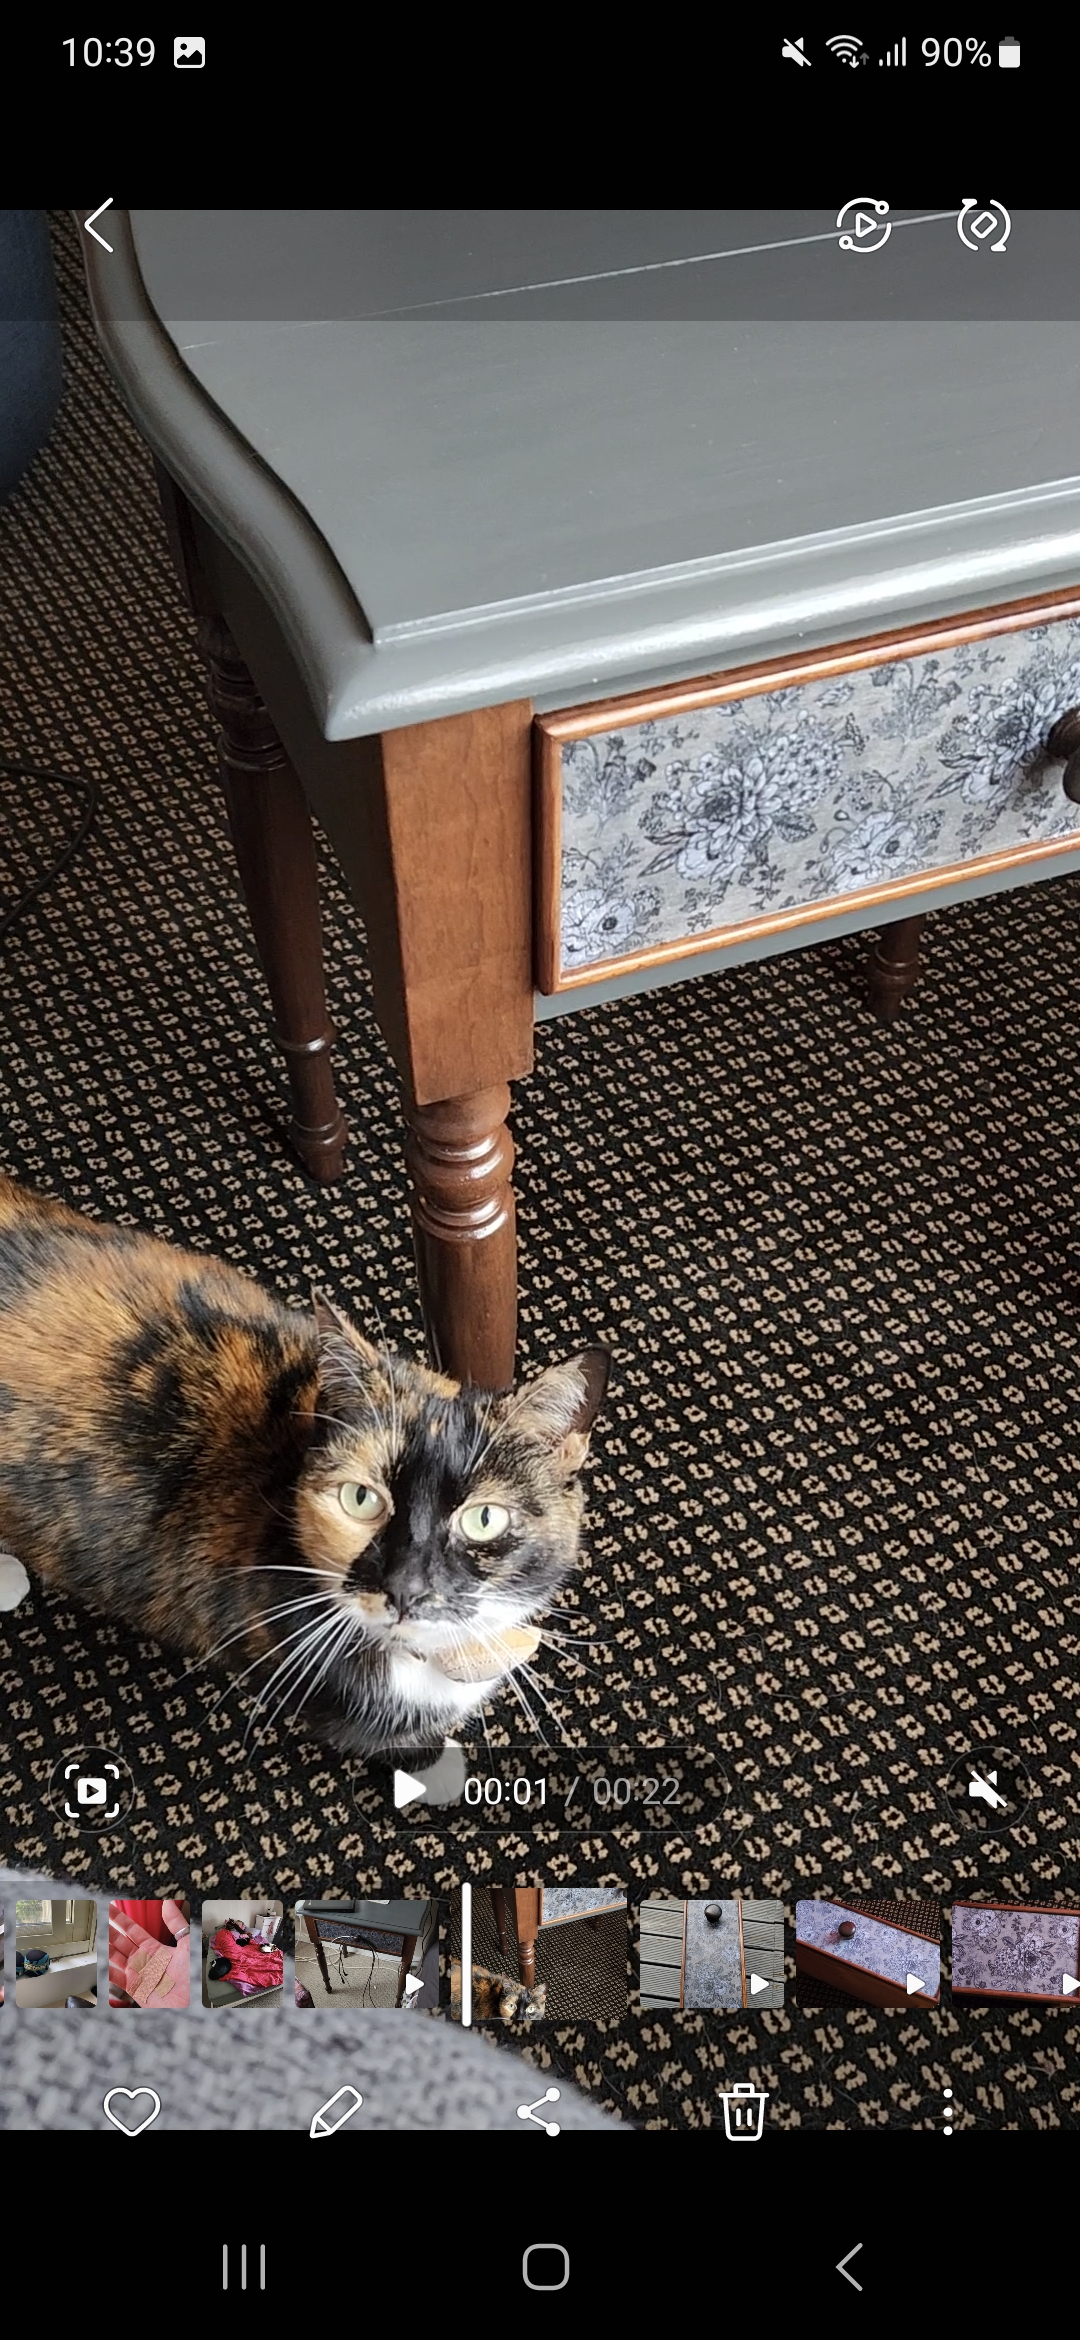
Sanding and painting. The shelf was included as it had been on the list for a while but I hadn’t found a colour I wanted from the paper on the back. But when I saw Maestro on TikTok, that was the shelf colour, the table was thrown in to make a pair (and be less Magical Marina overload).

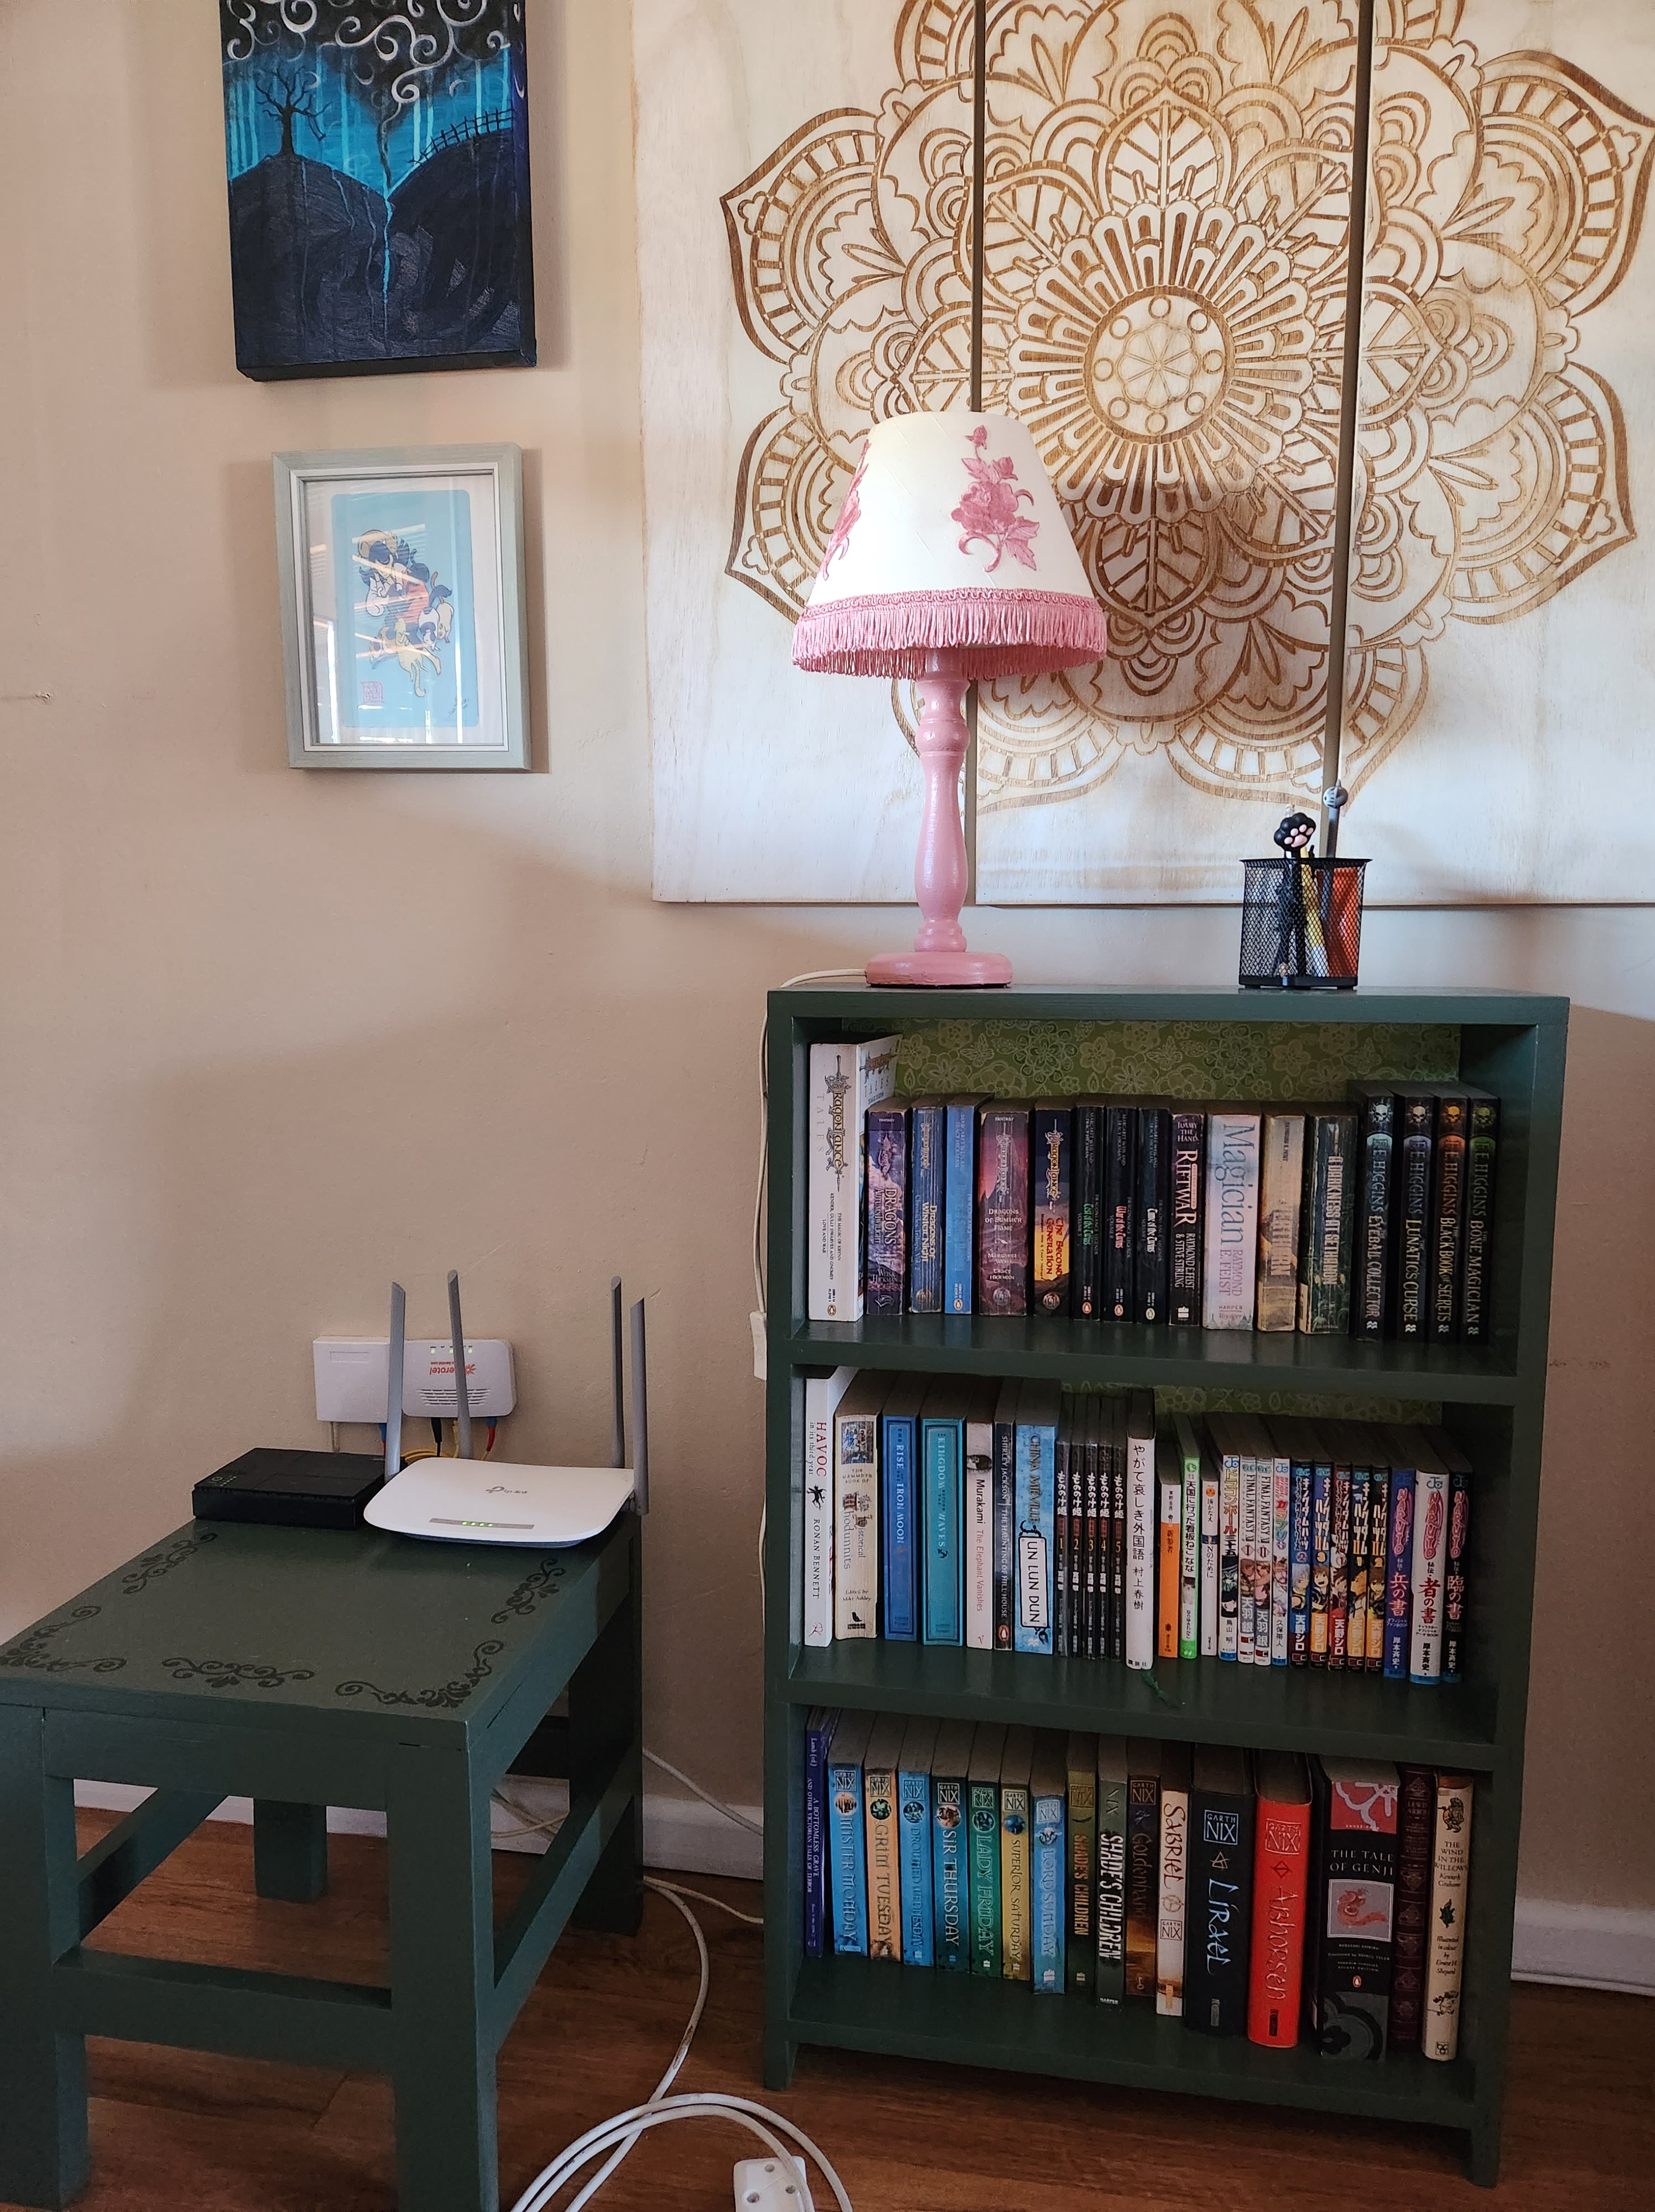
The corner stencil was from an earlier project, a coffee table, and the centre stencil addition to create a border.

But I was not finished with my ‘remove all white furniture’ blitz.

The white of this cupboard was painted Lourian’s Cream, same as the kitchen dresser.

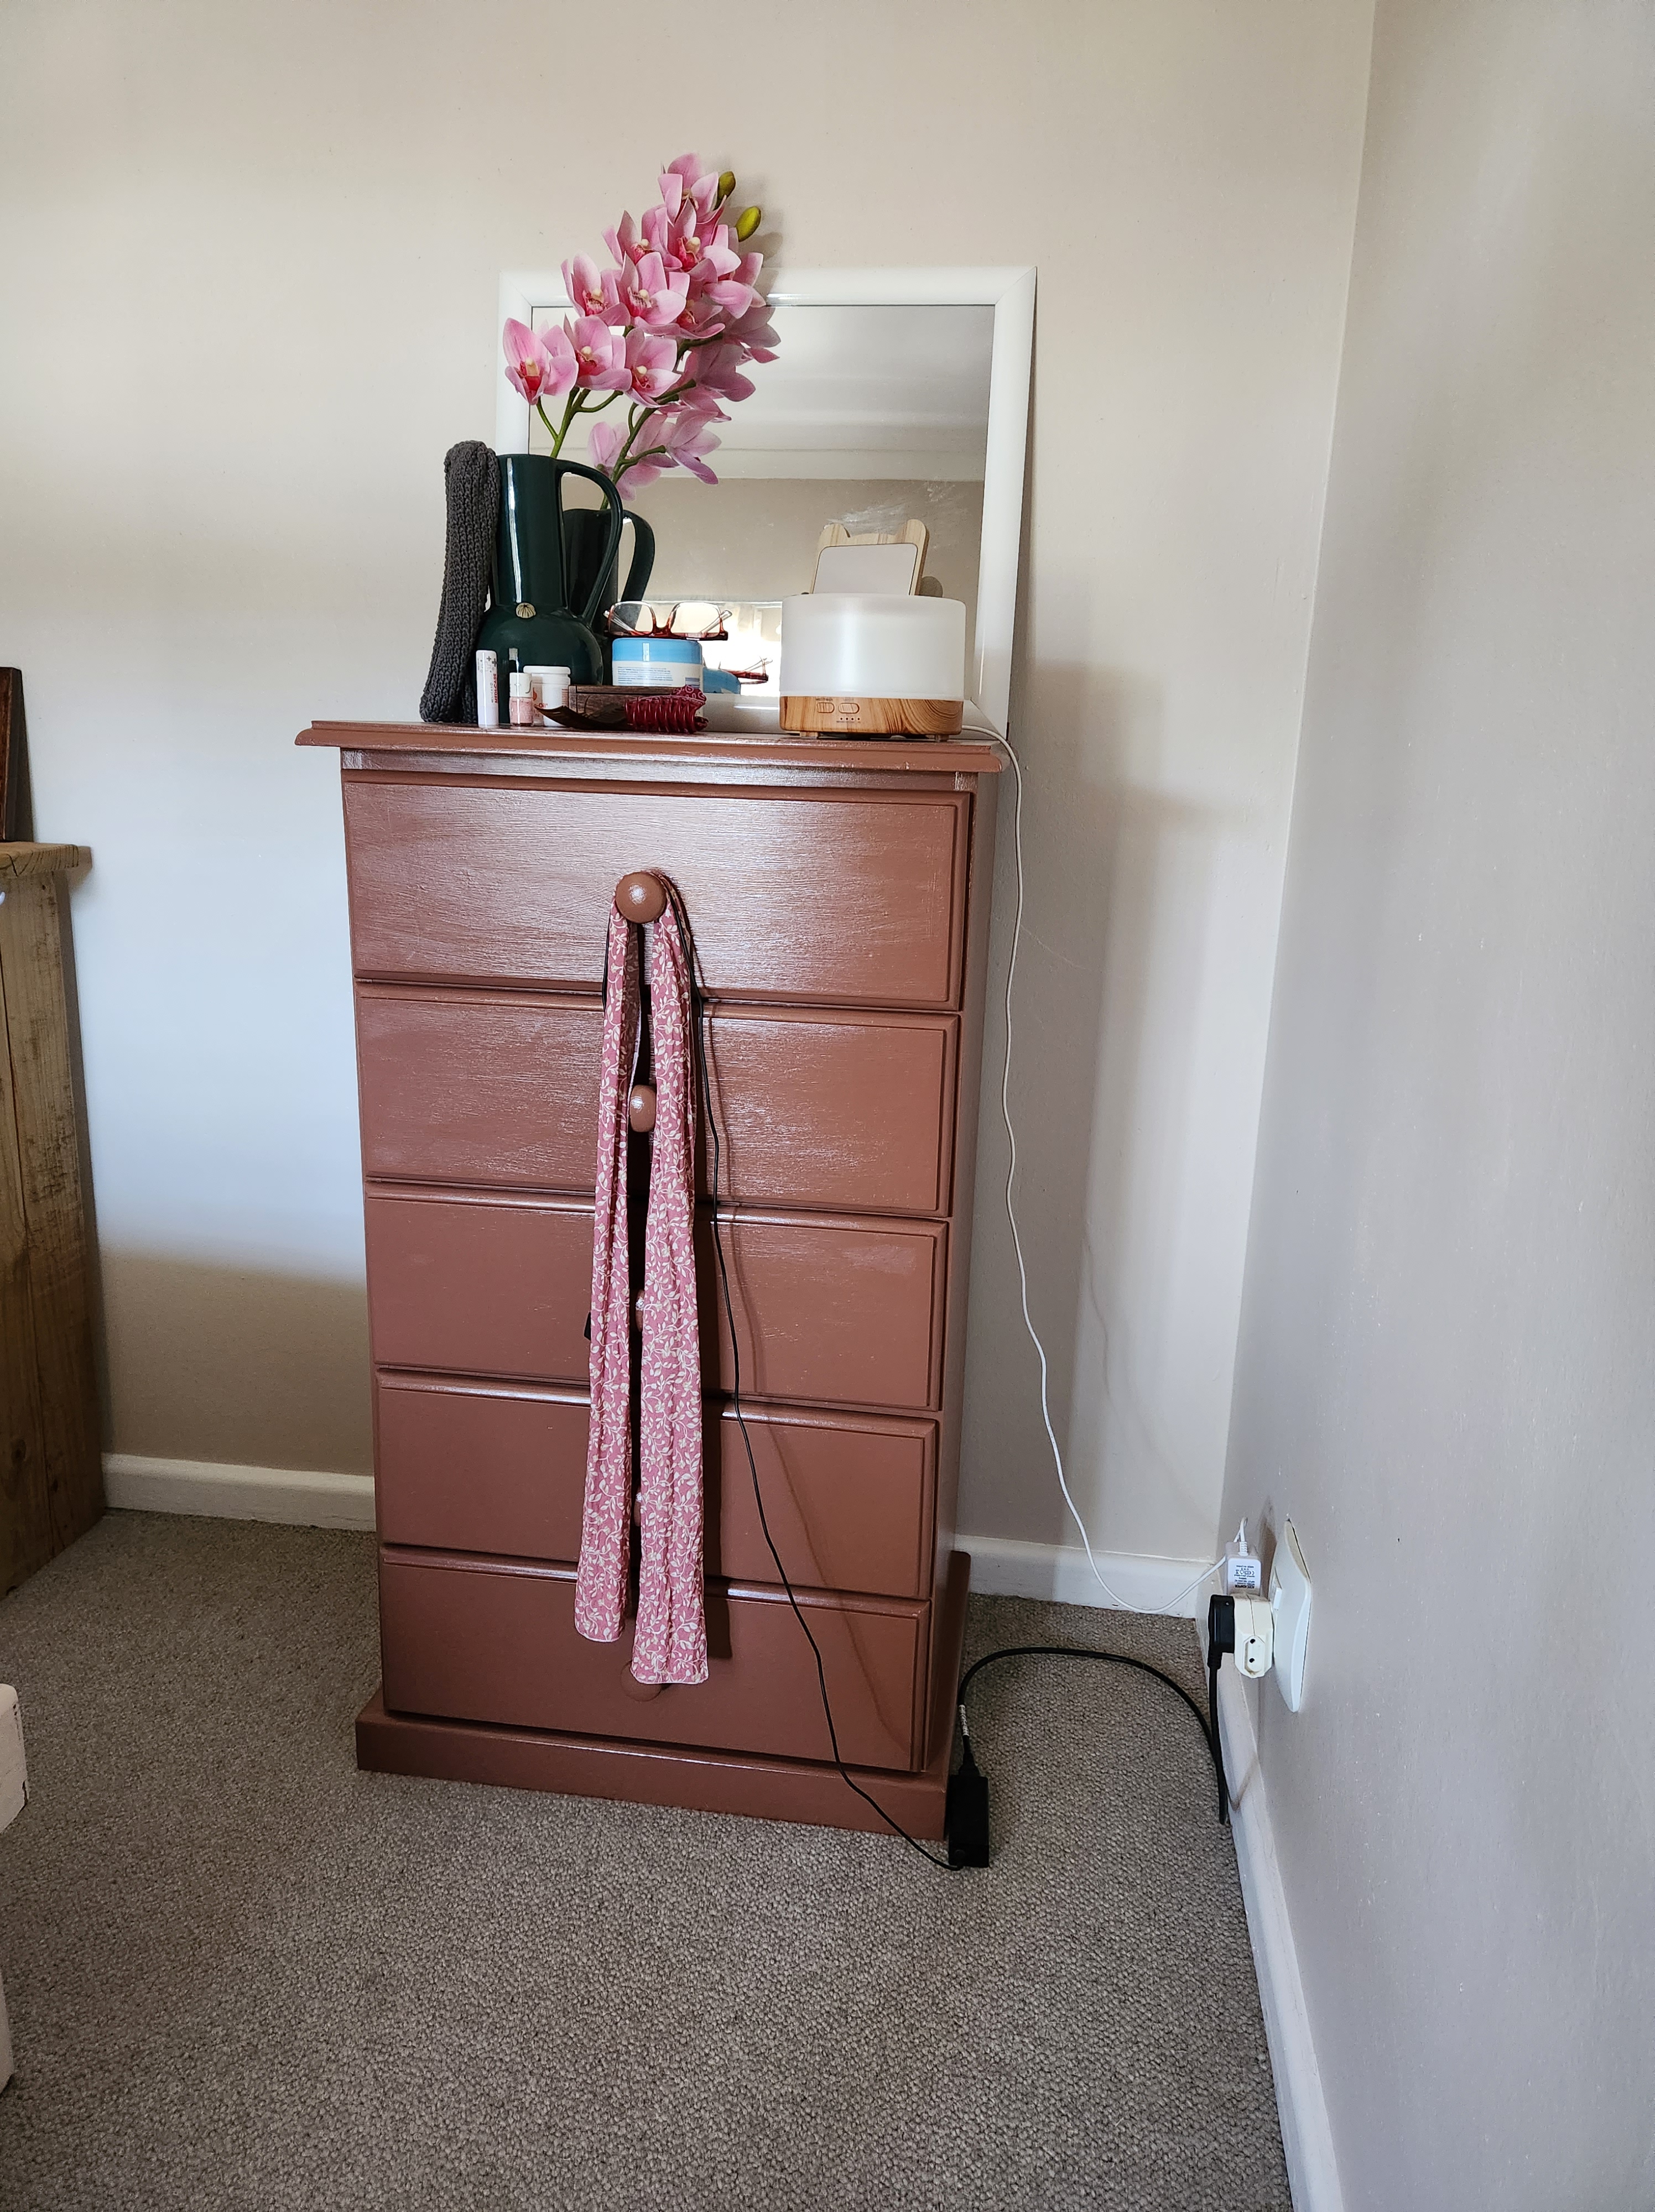
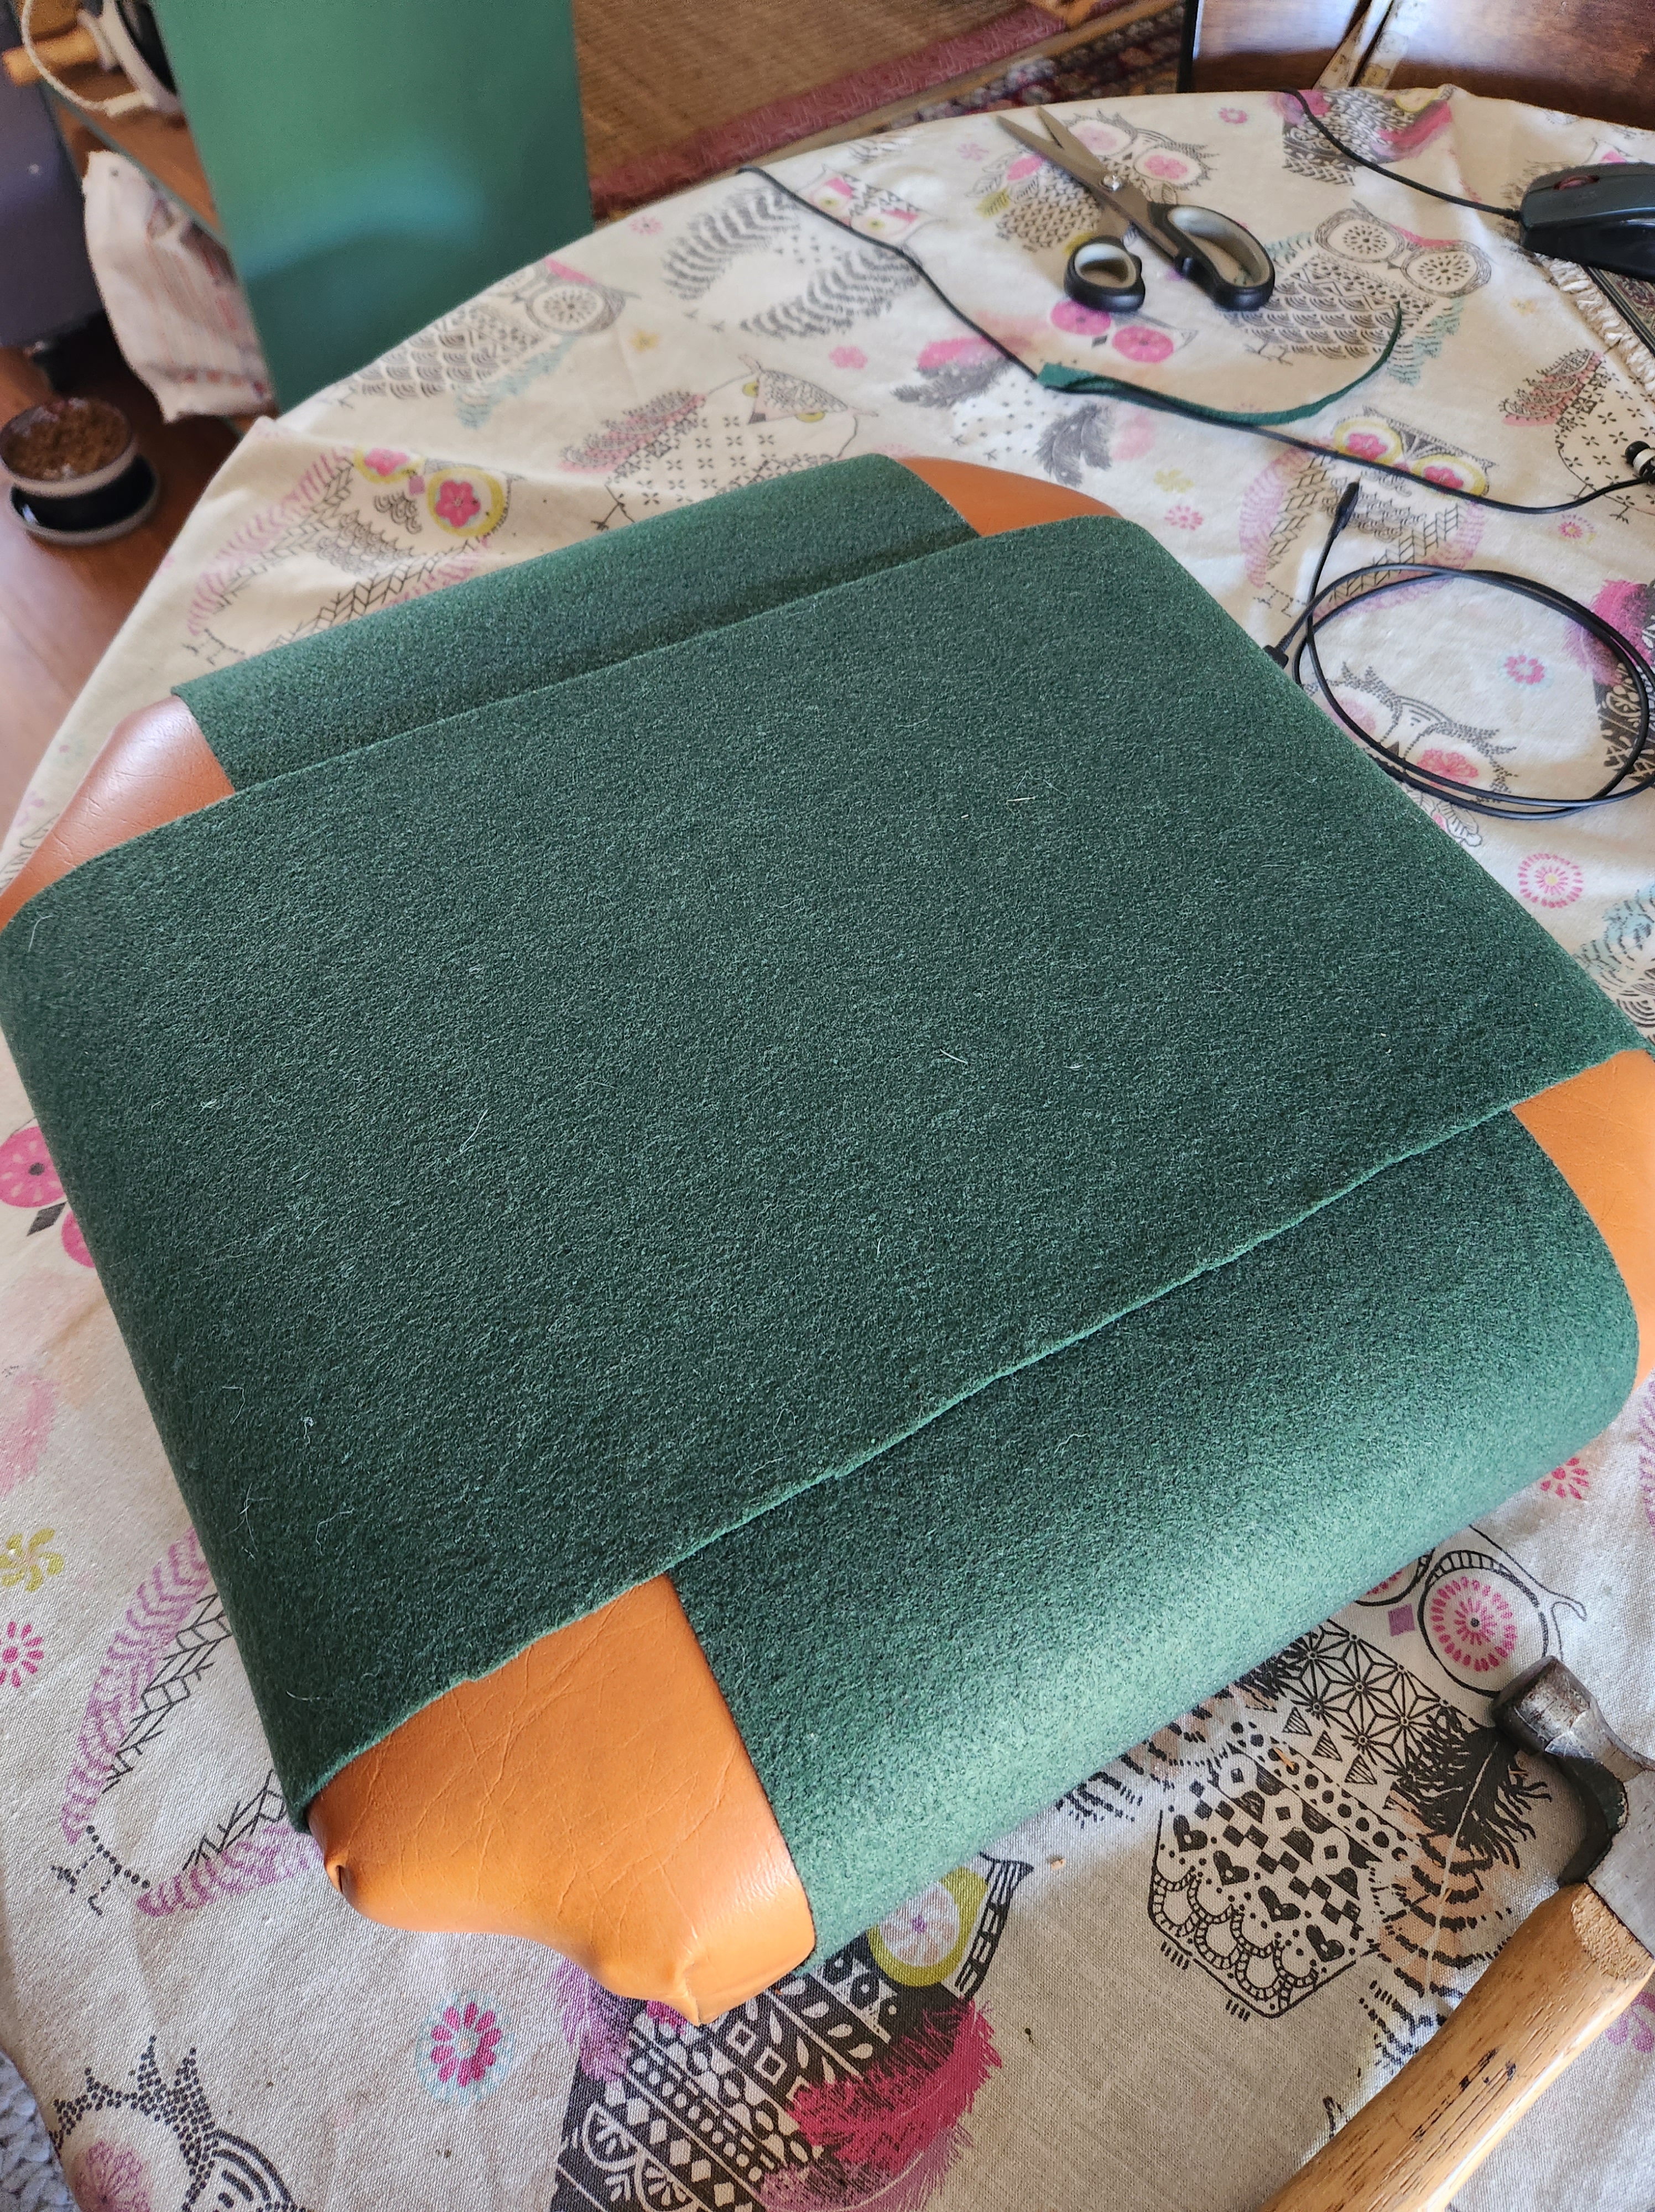
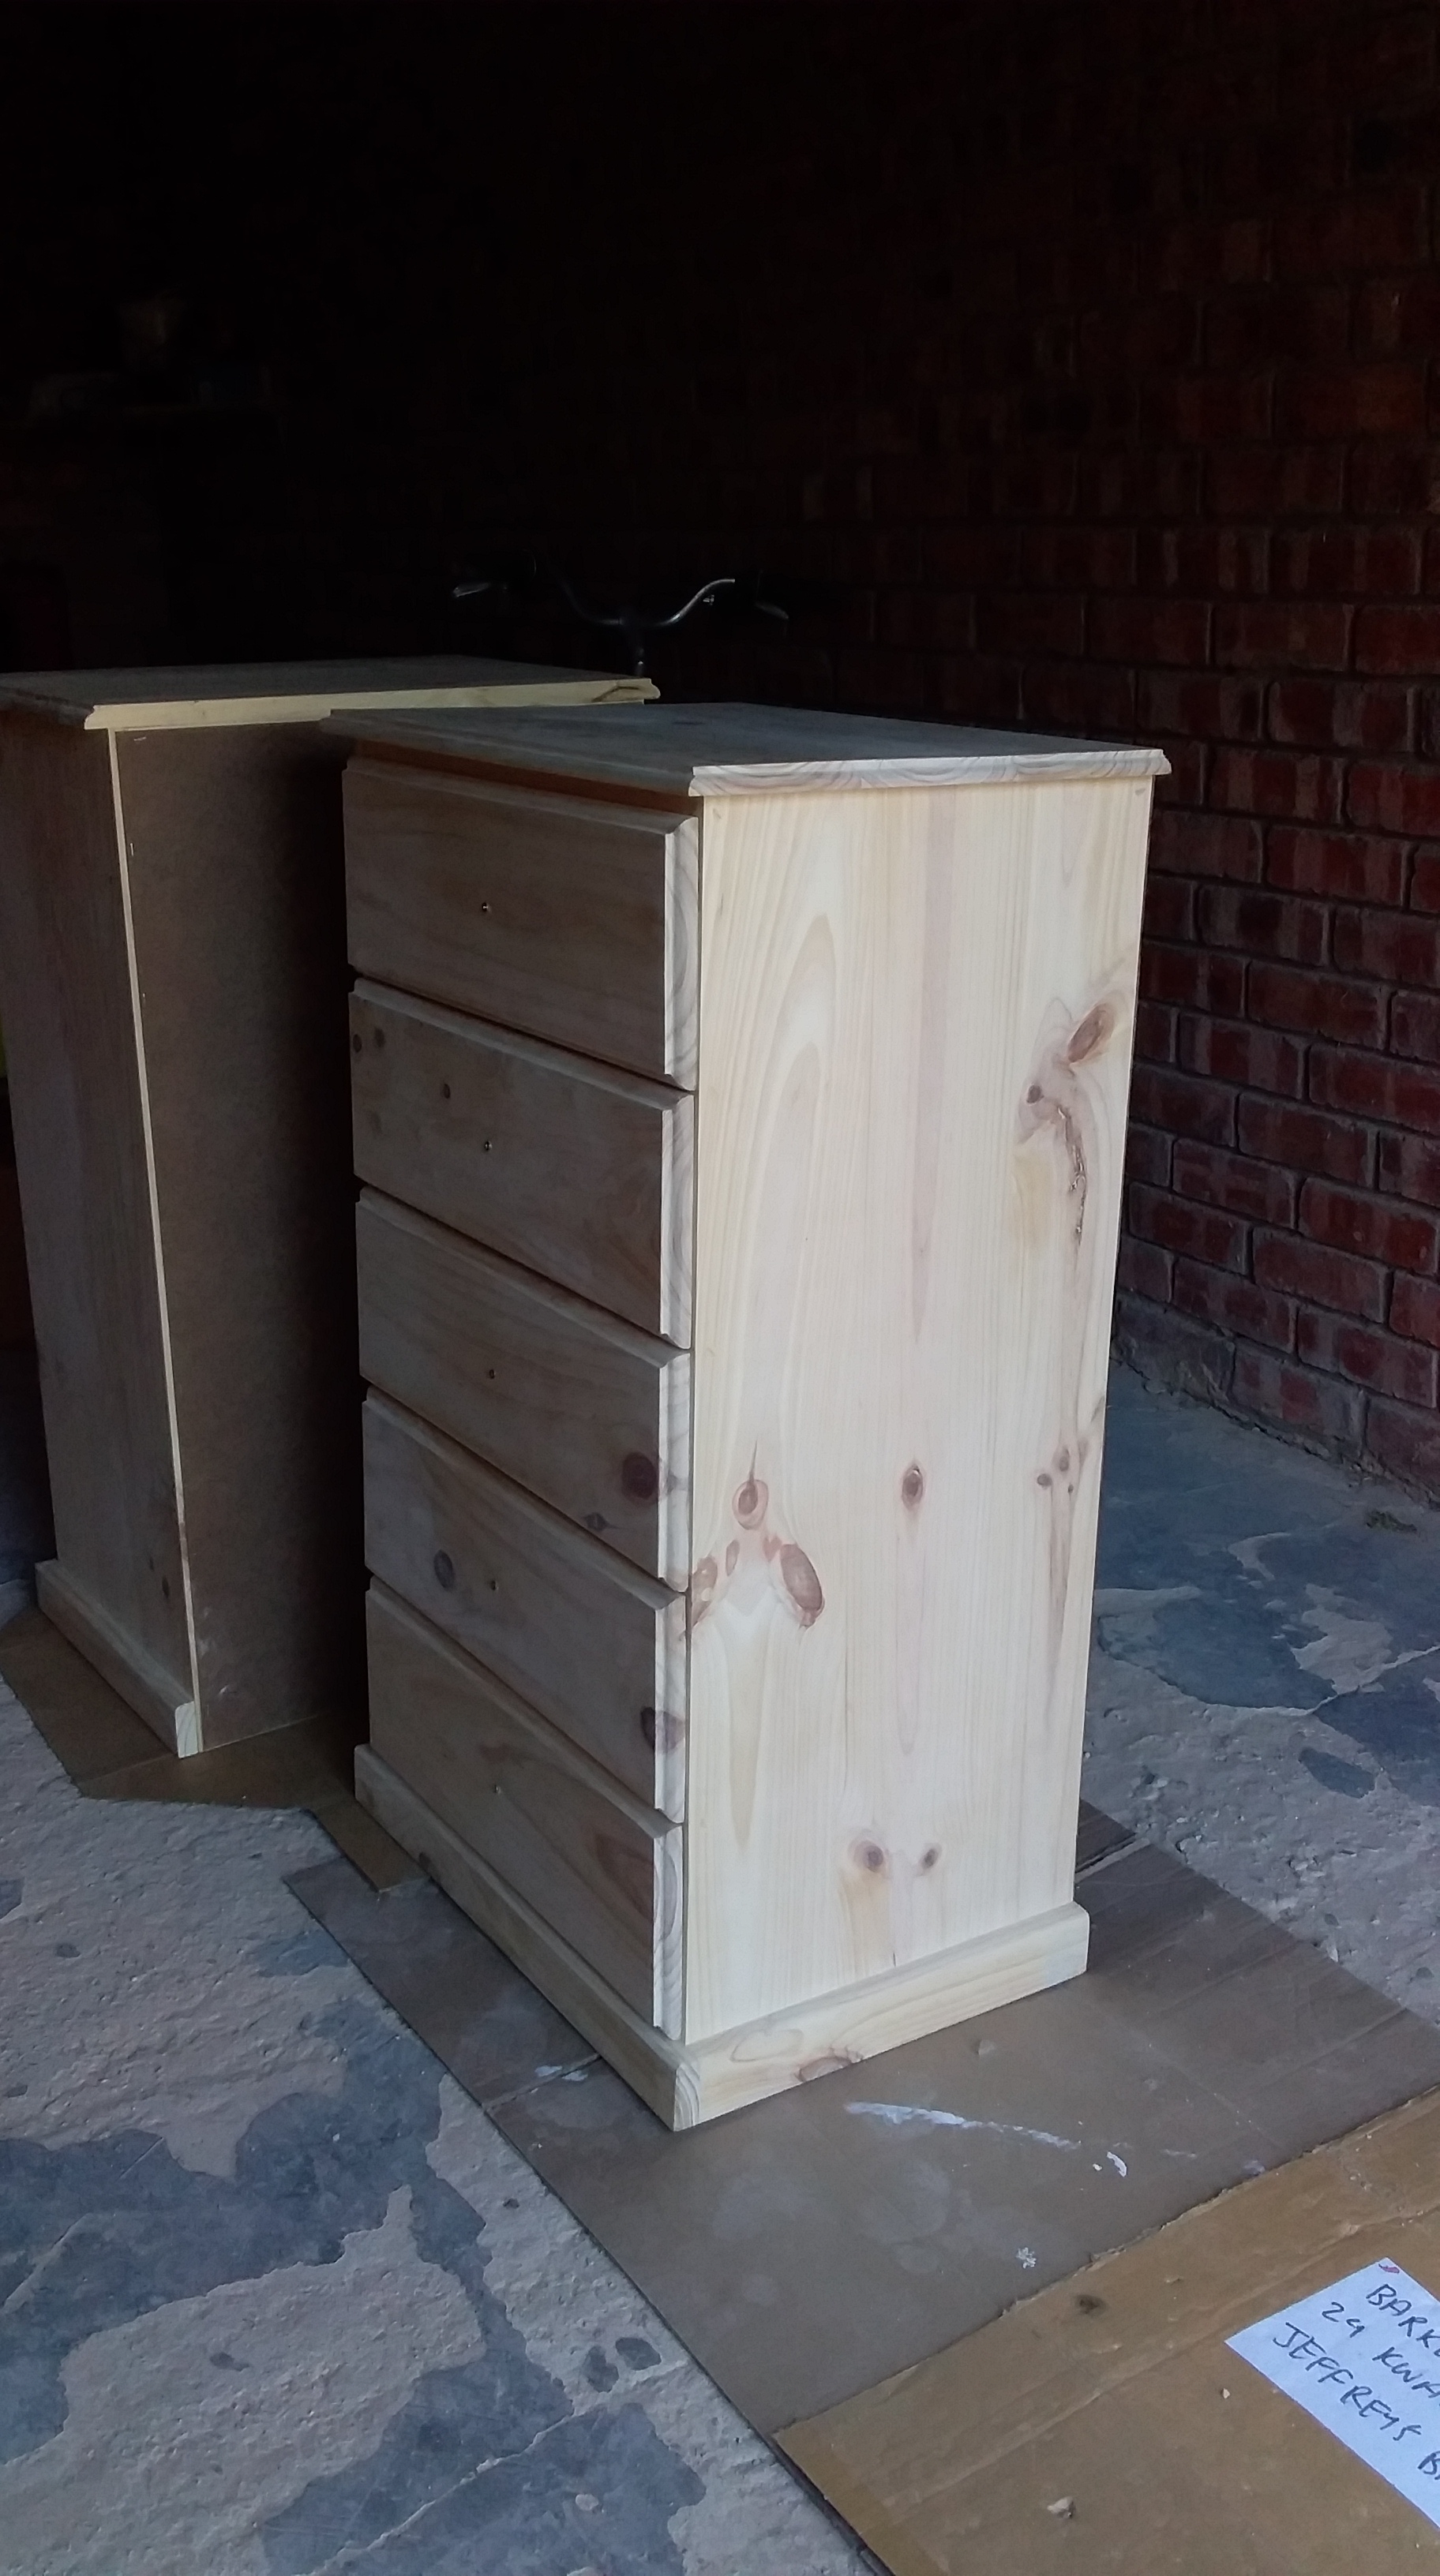
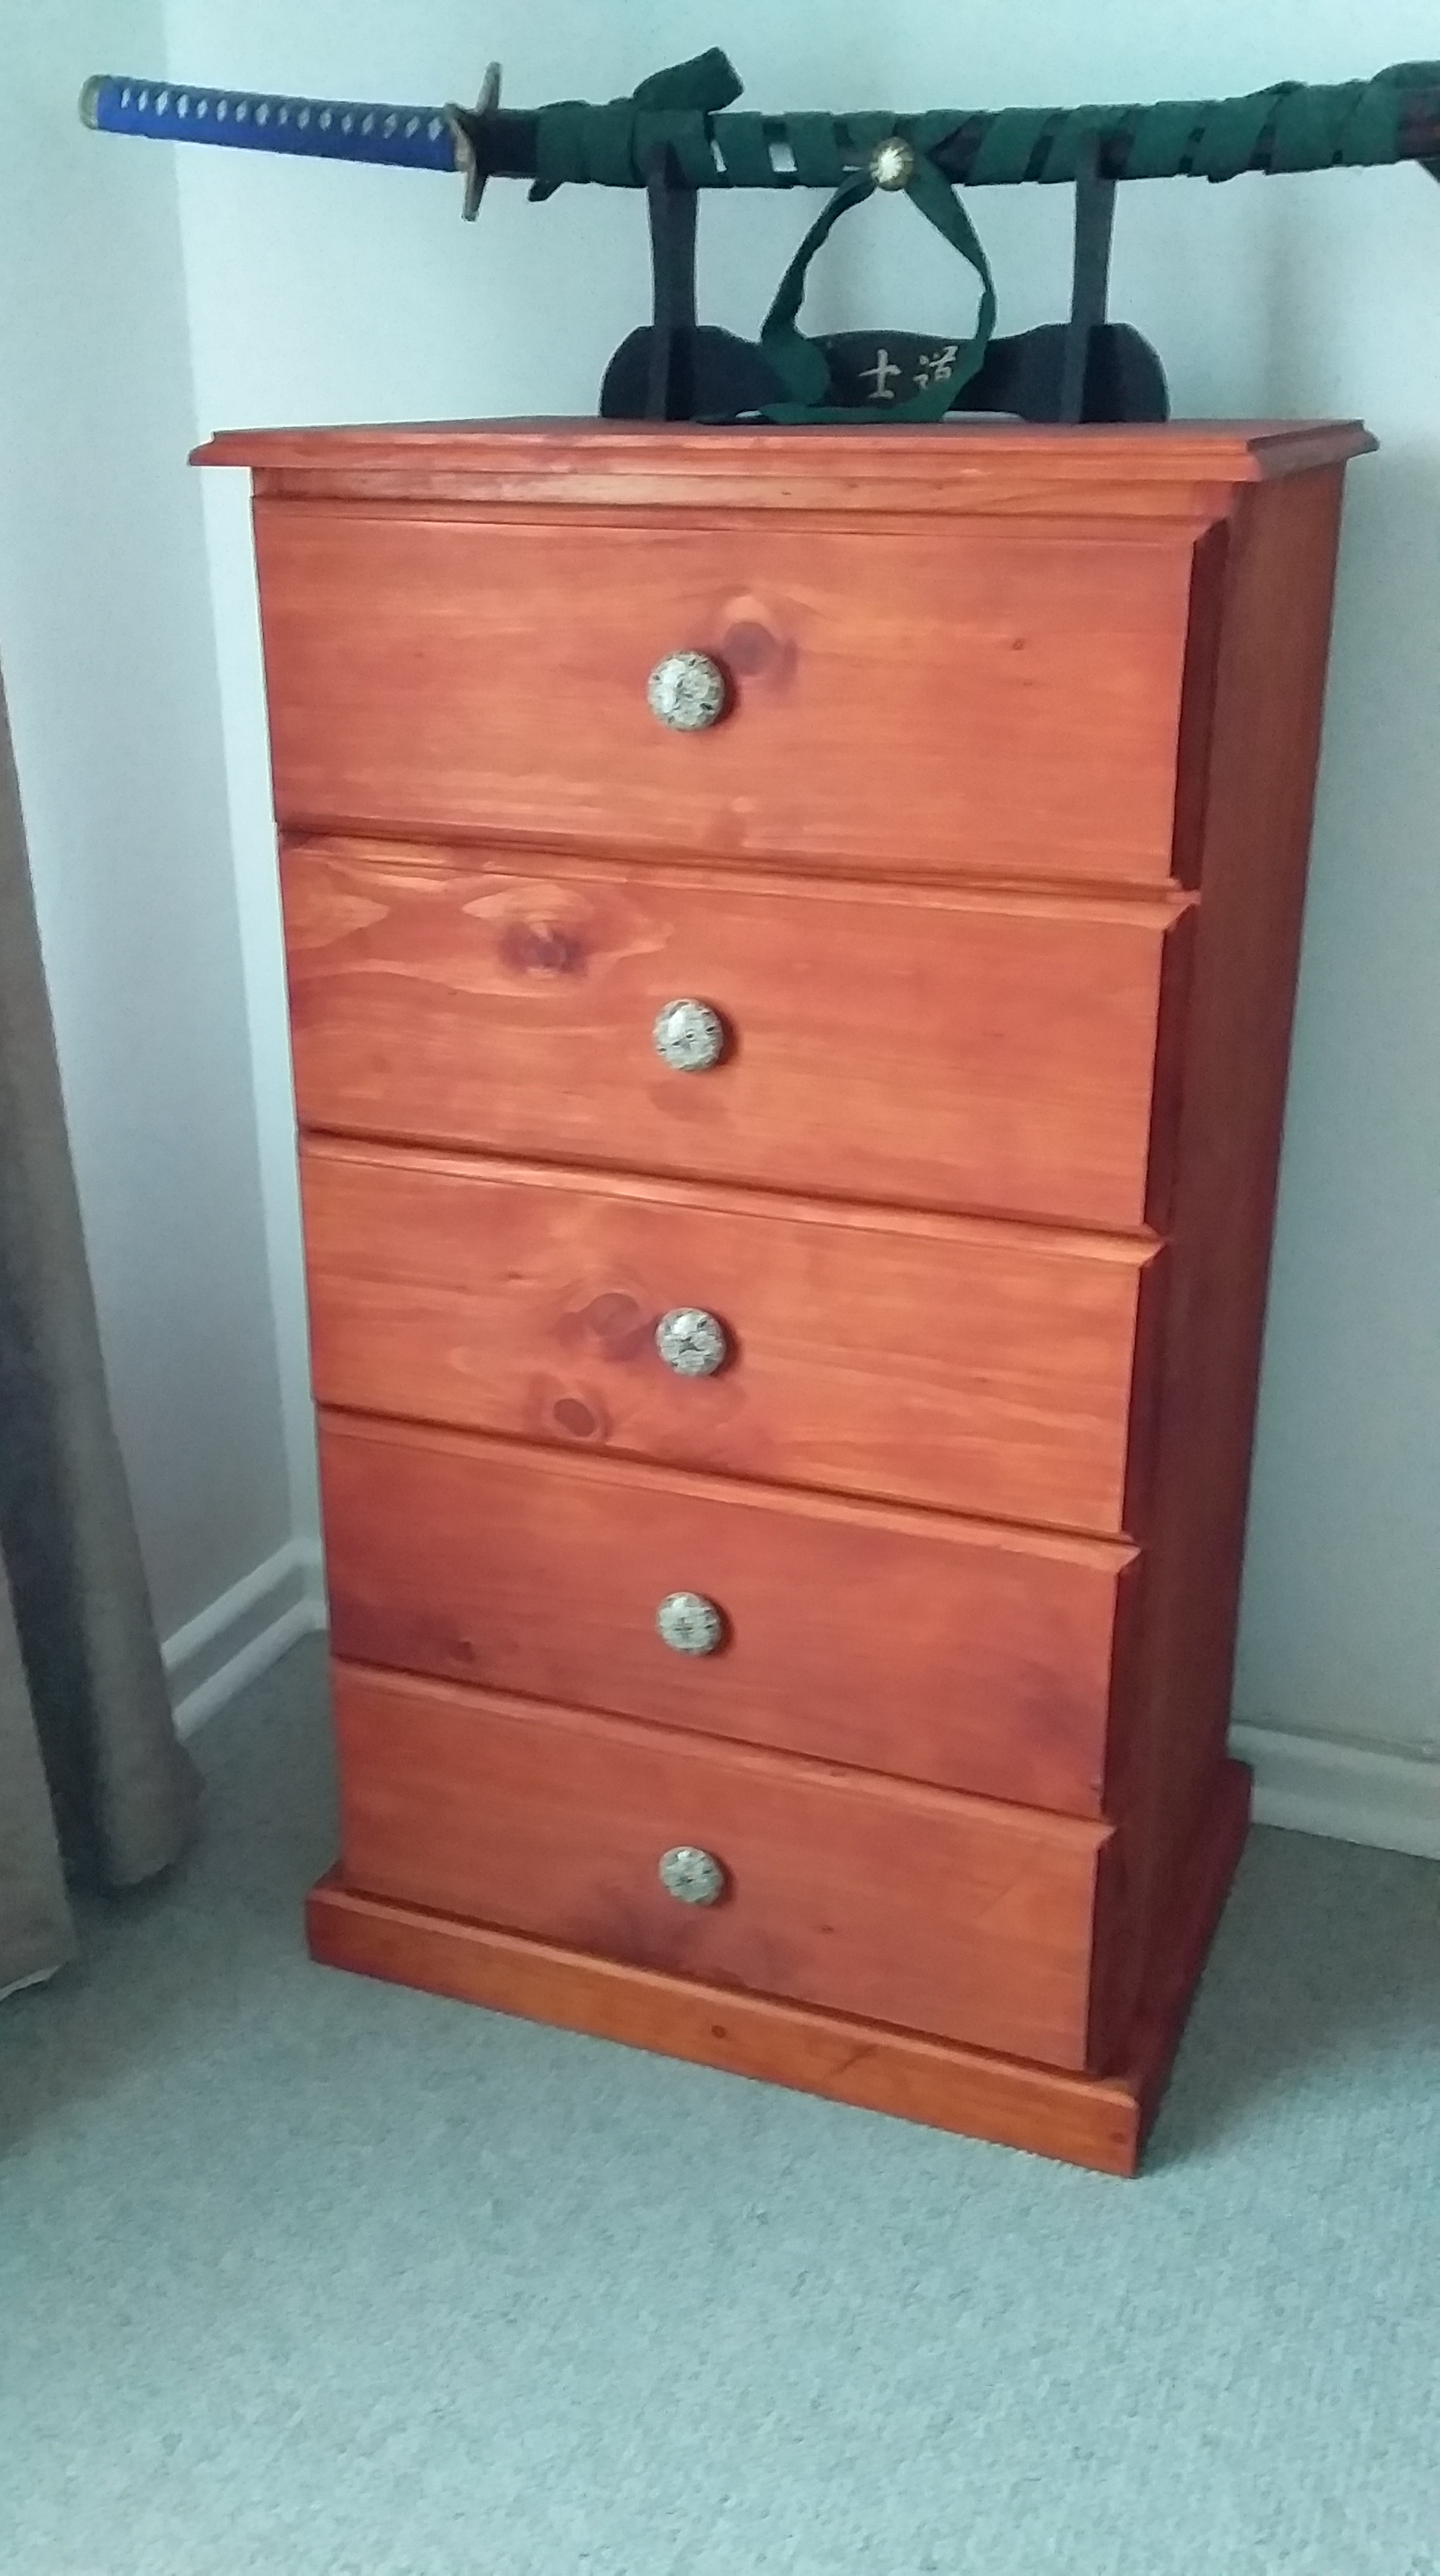
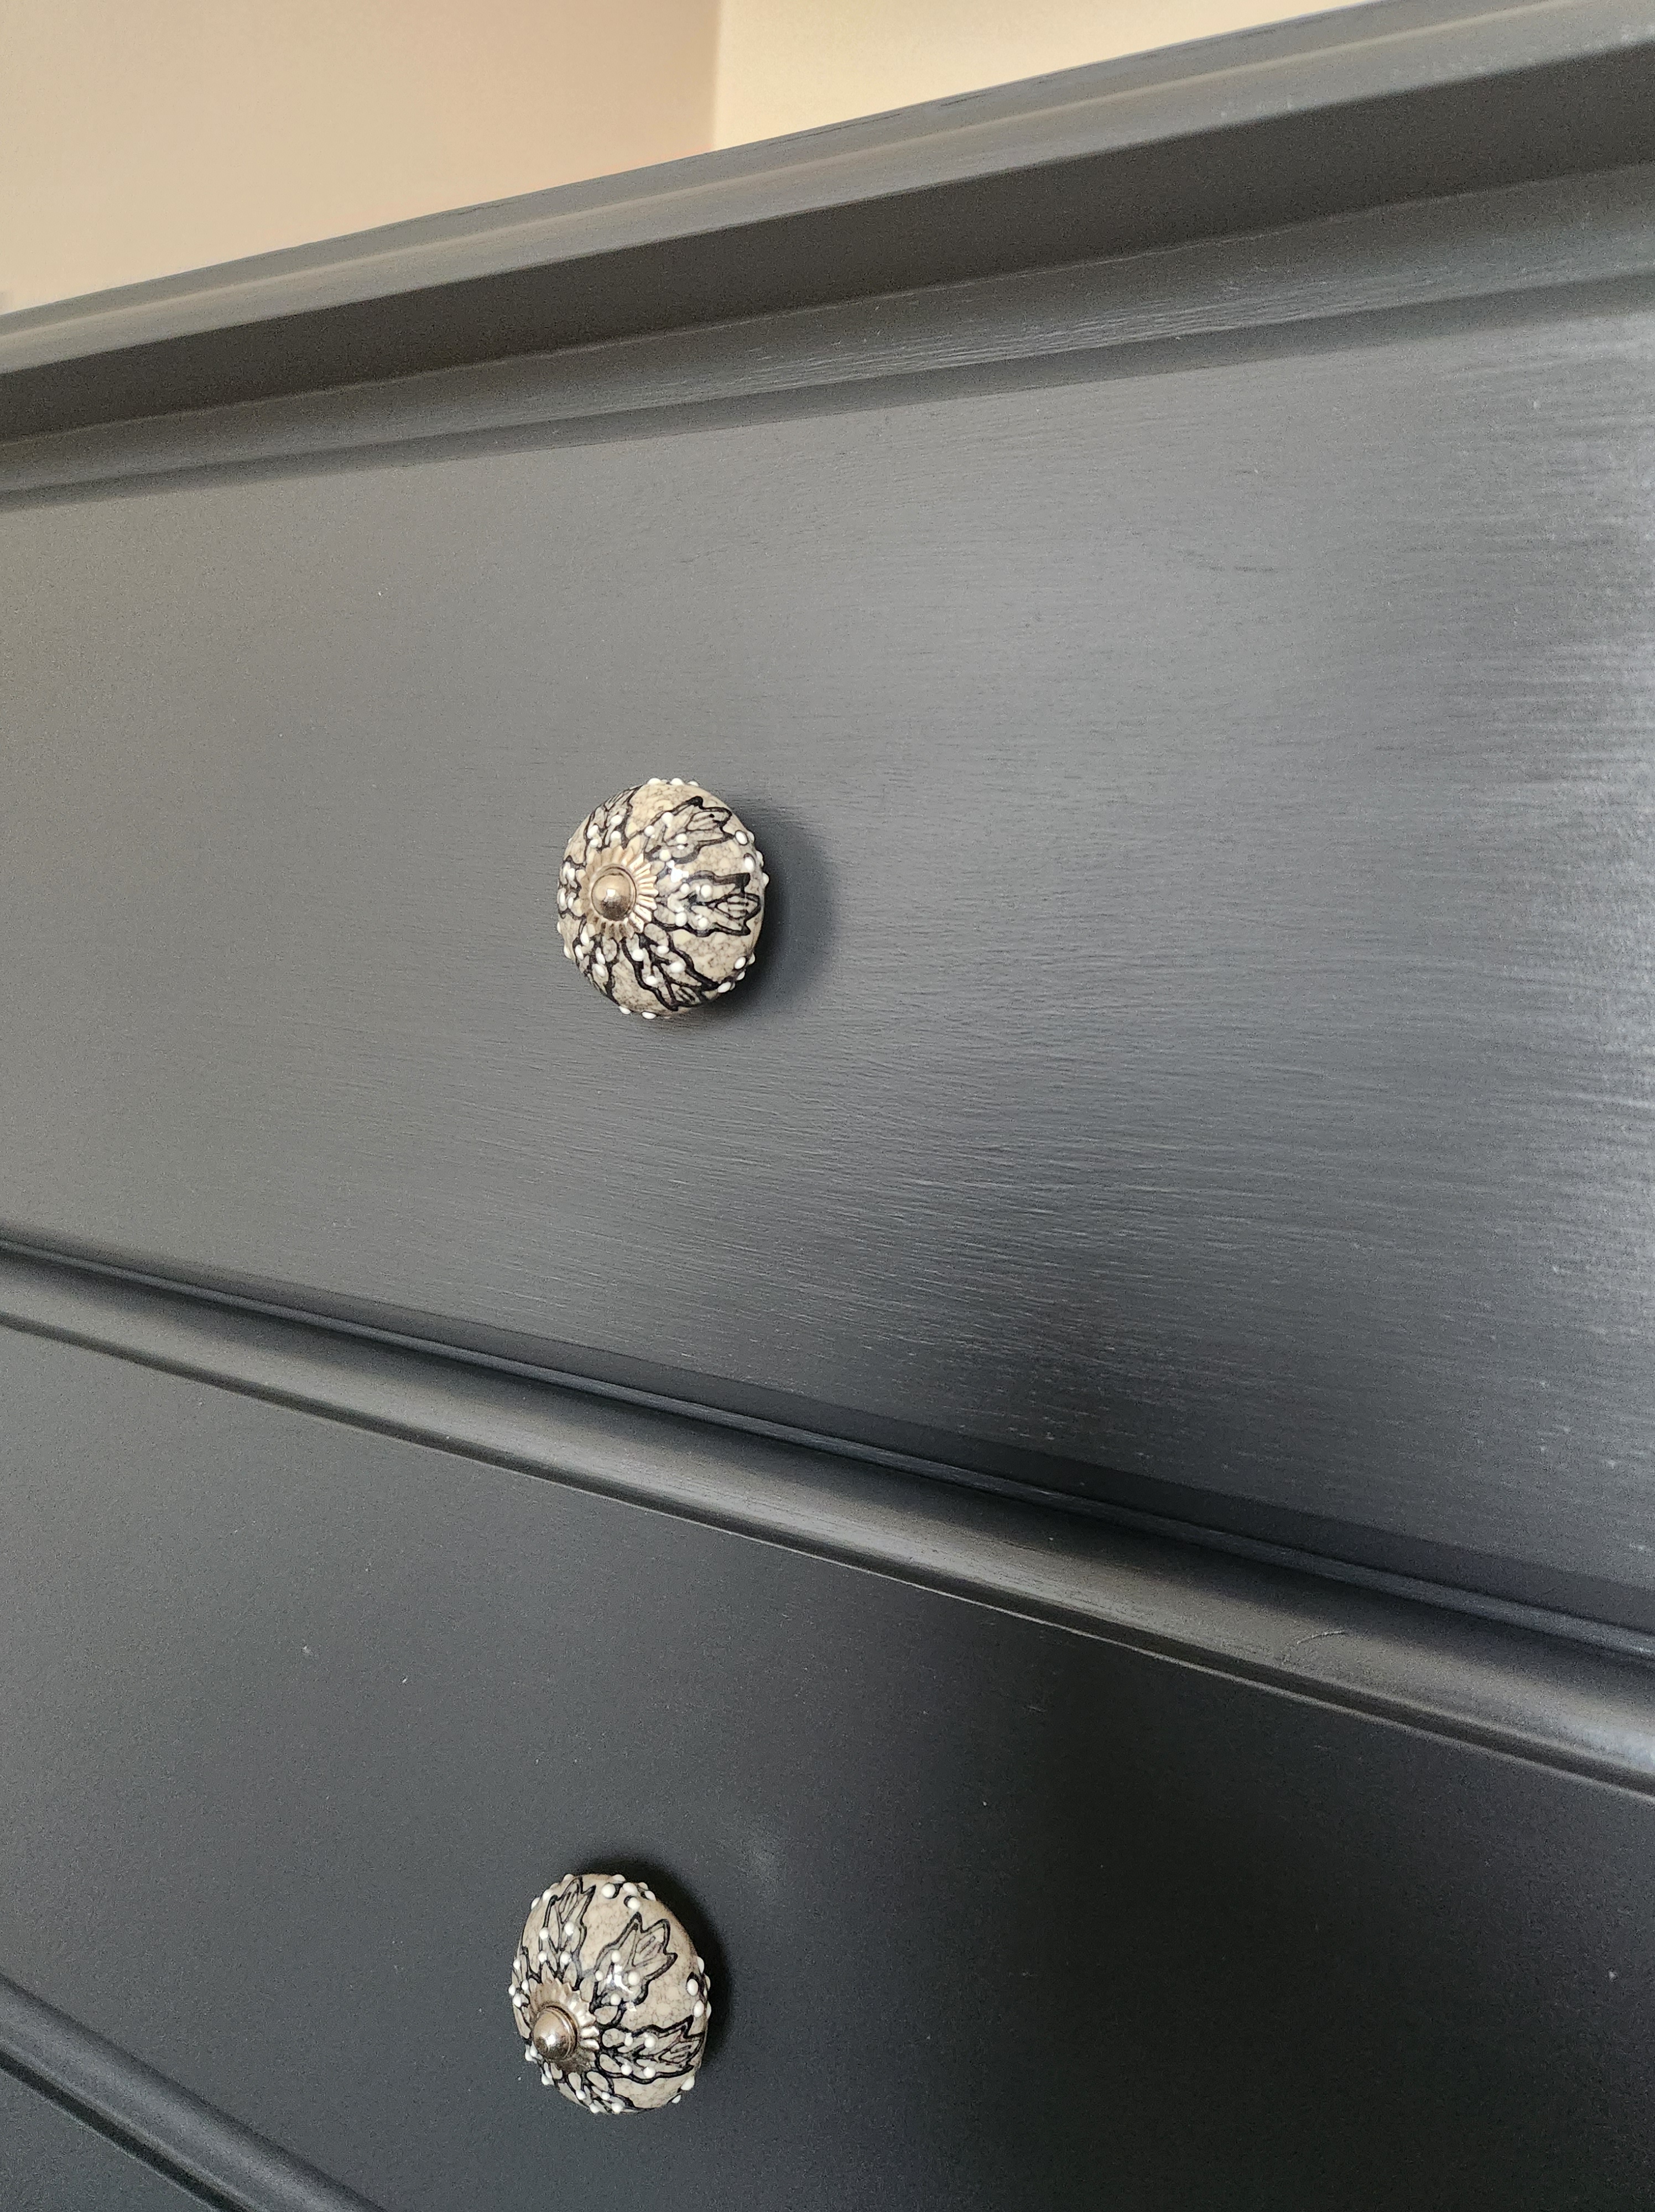
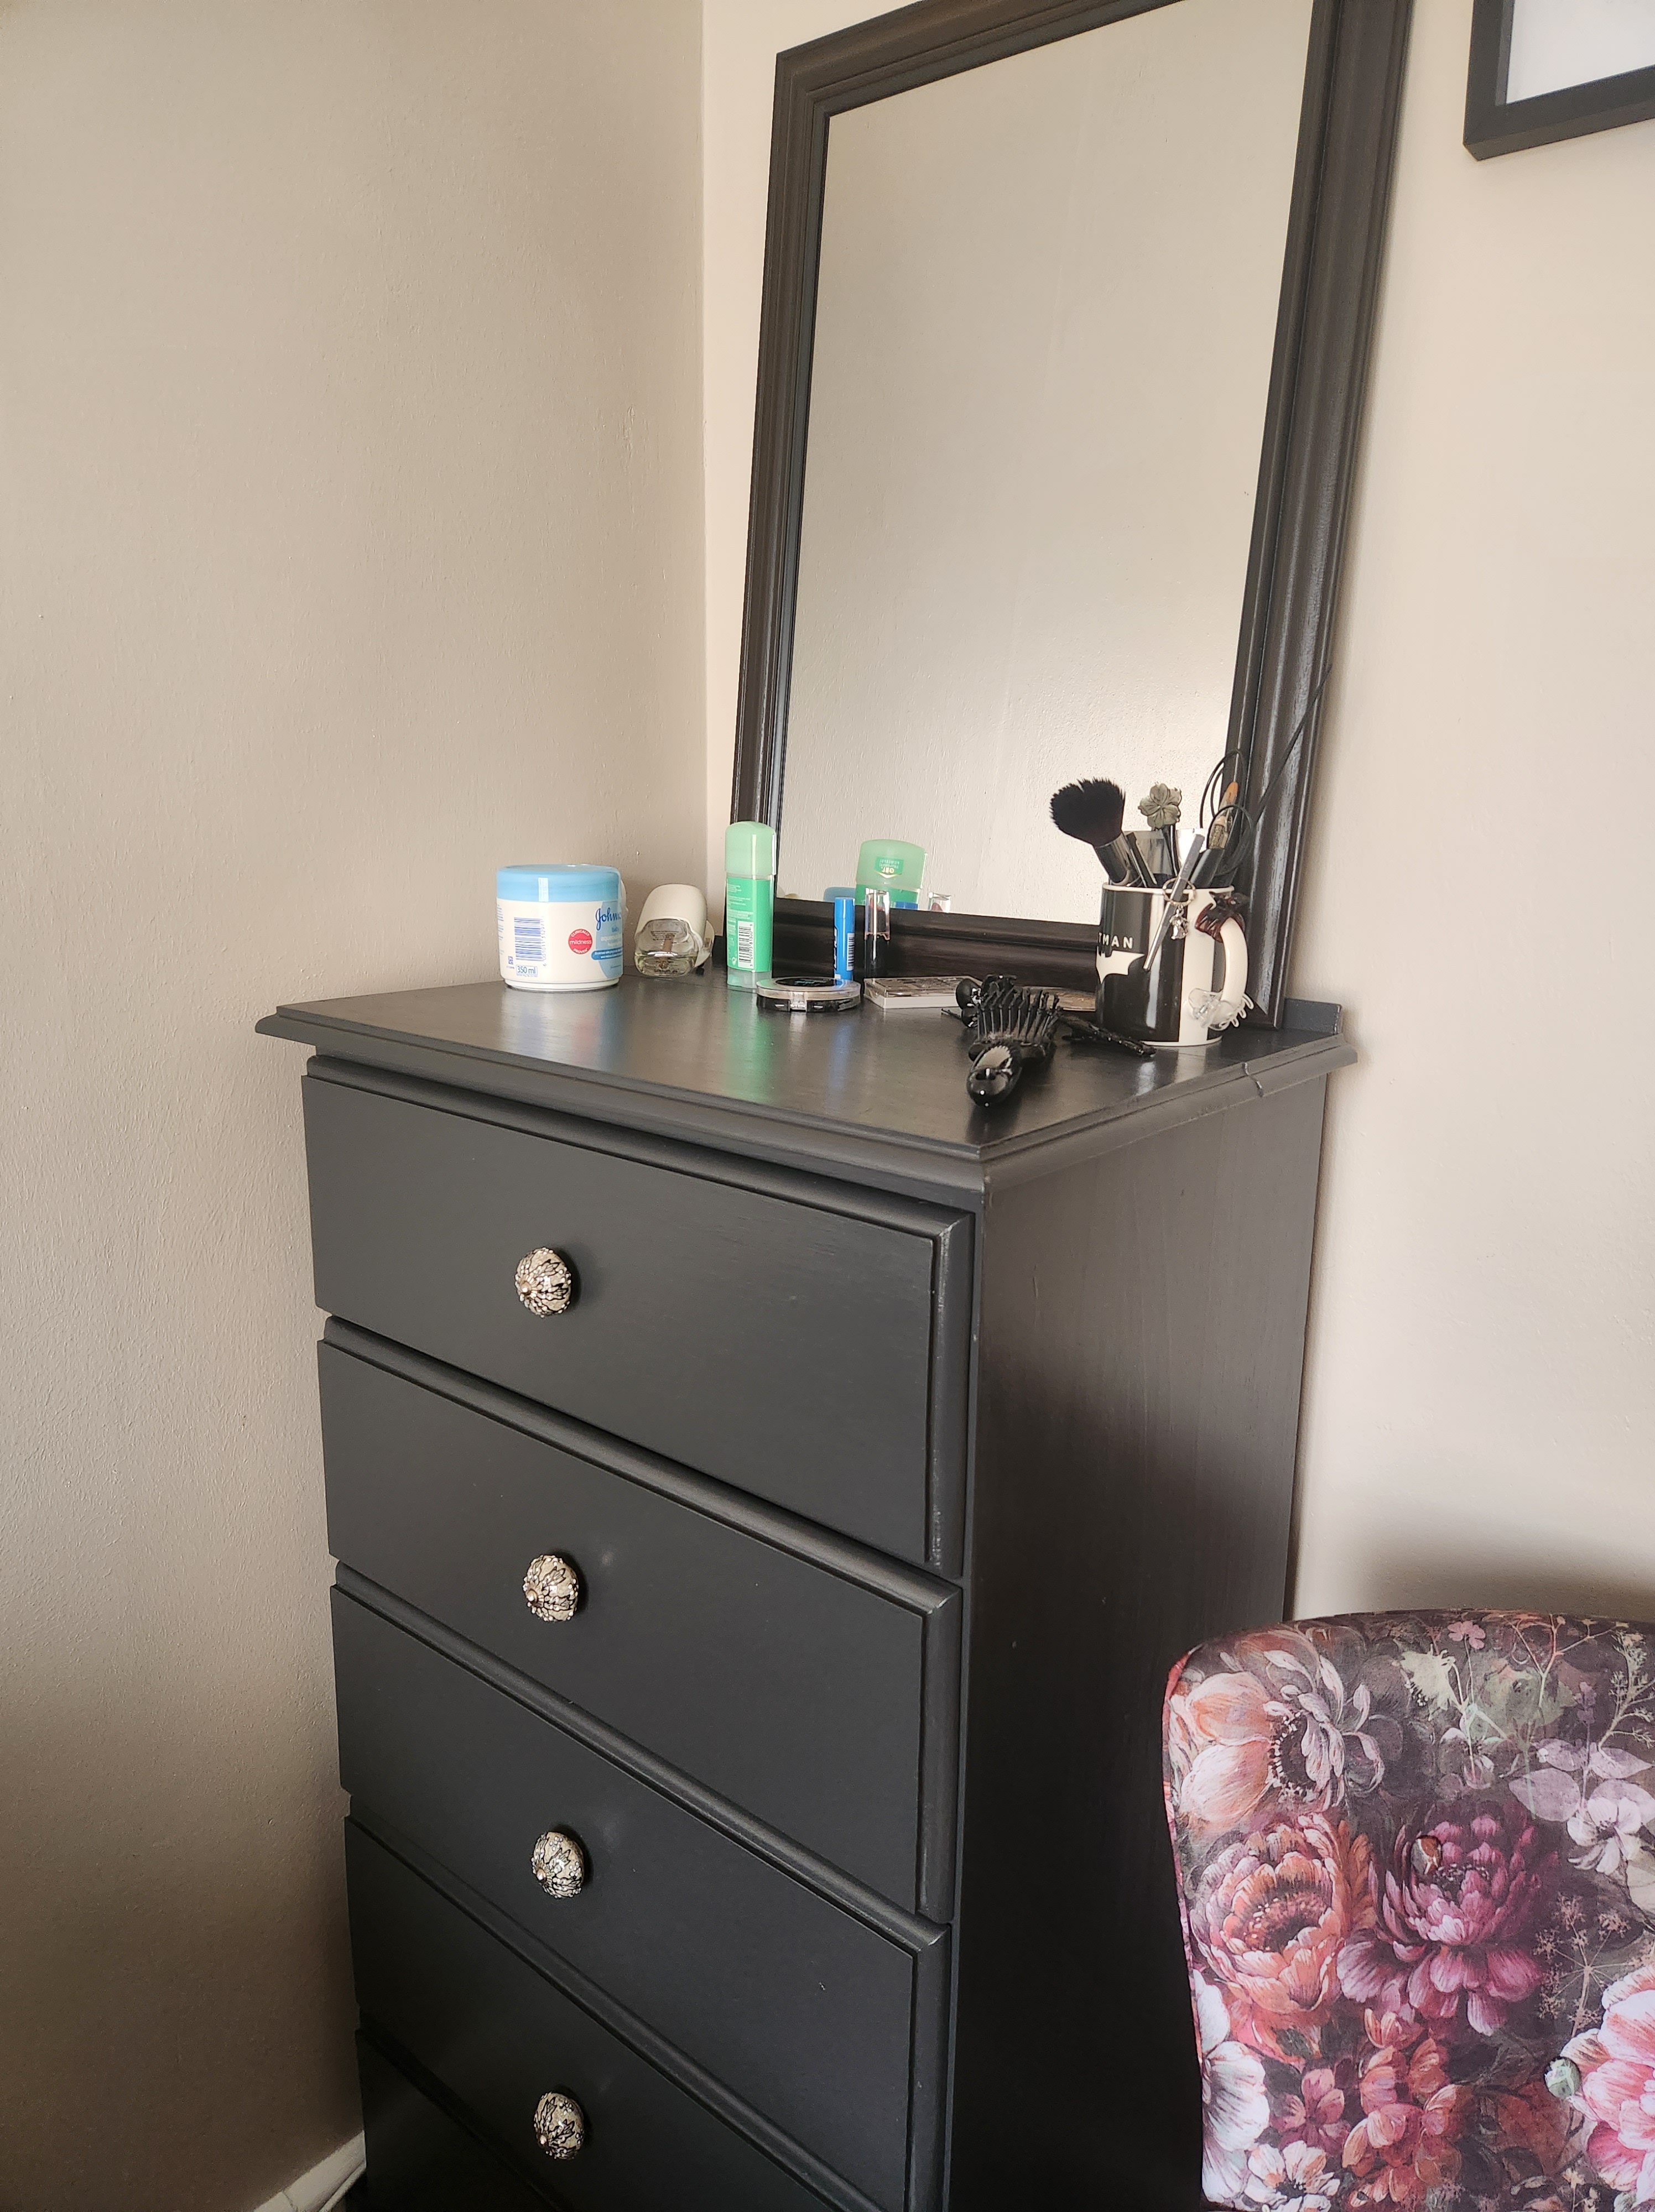
And this chest of drawers went from to Simply Siphiwe, same as the footstool.

There is still sort of one piece left – my wardrobe. I’ve been undecided and am still undecided. I kinda think I’m going to keep the black and white but redo the white to a matter white so it’s not so reflective. While I’m deciding, I did put bronze stencils on the front 🙂

Craft – Footstool upgrade

I found this cute footstool but it needed an upgrade to fit in with the rest of the home vibe – leather and wood needed to change.

Charlie approved.

The leather was in a good condition with only a side seam undone.

Apart from some dirt, the base wasn’t bad. A light sand and some Tjhoko Paint – Simply Siphiwe with Granny B‘s matt arnour.

Added some felt for cushioning under the fabric.

Right side down, I lined up the fabric and pinned the side seams for a snug fit. After stitching the seams, I pinned it in place again to prevent movement when securing on the underside.

I no longer have a staple gun and wasn’t going to buy one for a single project so I used panel nails to secure the felt and fabric in place.

I did know there was a bit of water damage to the chipboard – didn’t anticipate the nails not holding. Wasn’t sure how to correct this but a load of wood glue on the damaged part and some screws worked in this case.

Used my scissors to stab some holes in the fabric to secure the base back on and added felt feet.

Of course, I’ve redone this footstool for the cats…

Craft – Chest of drawers

When I did my bedside table, I was inspired to redo my chest of drawers.

This first redo was raw pine with a cherry wood stain and ceramic knobs. It was… okay. I had no feelings about it and it stayed like that for years (since 2019 – when we moved).

Before painting it I added a lip on the top with No More Nails. Sherif’s Stone again and new ceramic knobs to go with the decoupage of the bedside table.

Now I have feeling for my chest of drawers 😀

Crafts – little armchair

The bedroom chair for clothes that aren’t yet dirty enough to wash and a place to cats to sit and watch you while you sleep.

Perfect for cats and clothes. The fabric was faded and thin with age – the boys shredded it within minutes of it arriving home, and my fingers went through the one side when I picked it up. I knew this when I bought it and that the leg was a repair, I was going to recover it anyway and the price was worth it.

But I was in for a proper suprise when I started to take the dead fabic off…

It needed professional repair.
And the recover was looking to be beyond what little reupholstering I’d done in the past.

Took it to a local upholstry place for repair and recover. Then I painted the legs black and added a green fringe.

Looking cute and creating a vibe.

Craft – Bedside table

With this bedside table, I tried my hand at filming instead of only photos then forgot the photos part…
Filming takes more planning than I want to do for a hobbies 😀

Screenshots of video – two tone wood is not my vibe and I really don’t like yellow toned wood.

I wanted to try decoupage for the drawer front. The knob didn’t come off so I had to work around it but working with podge was quite simple.
The colour is Sherif’s Stone from Tjhoko paints. I kept the dark wood first with the option to paint over it if I didn’t like it but it came out well.

Really pleased with the way this one came out.

DIY – chair repair (temp)

I bought two second hand armchairs in a style but not fabric I wanted.

The goblin boys had pulled the fabric from the attachments on the lower arm so I needed a temporary fix till I have them recovered.

The fabric is still intact so with a thick tread, I wove between the fabric and the piping (I only had grey).

Good for a couple of years while I find the fabric to cover.

DIY – bathroom upgrades v2

Additional bathroom upgrades!

A while ago I added a new towel rail and new cabinet to the bathroom – very cute. I also bought a new laundry basket, it was nice and simple and worked well.

But then I had an idea…

What if it matched the other items?

I forgot to take a before photo but it was plain bamboo. I used regular acrylic black paint. I added two doorknobs as little handles for look and to save my fingers trying to lift the lid. I made no changes to the cloth bag that hangs from the frame.

Finished and cute.

But the cats did get it shortly after the finished photo…

DIY – coffee table upgrade

This first thing that came to mind when I saw this table was Howl’s Moving Castle‘s final moments.

The tray top is a nice addition should I never need a large try but it’s mainly a coffee table. There must have been wheels at one time but I wasn’t sure I wanted wheels and I wouldn’t know where to start looking for wheels to fit the slots. And those slots were deep set in the wood, replacing would be a mission with possible leg damage, removing them even more so – they were left and painted over.

The paint was Tjhoko Paint in Pebble Shadow and I used Granny B’s Armour in matt. It was my first stencilling project and I planned to add some black to the original colour for the stencil design.

Cleaning and sanding before painting two coats.

I used a sponge to dab on the darker paint. I’ve seen people use a brush but a sponge was easier for me to control.

Added new rubber stoppers on the bottom of the tray and sponge disks to the legs.

And there is a beautiful coffee table for all my cottage core needs.

DYI – catio furniture upgrades

The day bed happened first and it looked really nice so we decided to do the sofa and then I added the chair cushions and table cloth.

Started with a single bed base that was pretty cheap. Very exciting as my sister had given me her spare single mattress so all good to go.

The frame was in a lot worse shape than I realised when I bought it. I thought it was a bit rough but wow – it was way worse. I couldn’t see the mattress base damage and there was hidden damage on the inside. No longer the cheap find as I now had to do some repairs I hadn’t planned on.

Did a fair amount of gluing and fixing before painting, first sit and it broke. The old dowels gave up so metal elbow brackets were added after the painting. Because I later did the sofa, I could touch up the bed frame. The paint was Tjhoko Paints in Shorty’s Story.

Covering the single mattress – this was straight forward for me, sewing rectangles together.

Pinning and stitching into shape.

I have the very clever idea to make a flap to close the end of the cover instead of a zip. And it worked.
After I struggled for nearly five minutes to get it on the mattress.

We originally put wheels on the day bed to wheel it into the sun on chilly days but first lean against the call and the bed wheeled away – this was when the old dowels gave up and the leg broke. Removed wheels, repaired leg and added metal elbow brackets. With the second lot of repairs, the bed frame was no longer the cheap buy we got originally and the efforts were making me think I should’ve a new one.

Ended up moving the day bed to the back of the catio.

Onward to the sofa.
The sofa was one of the very first things bought for the new place when we moved in.

Seaside vibes but I had something cuter in mind.

The finish was rough so it didn’t have the smooth, difficult to paint gloss of the bed frame. It got two coats of Shorty’s Story and a layer of Granny B’s Armour in matt.

Because the single mattress had gone so well, I was over confident with the sofa foam. I reused the zips and added piping but the long, long seams tested me and I redid them a few times before I figured to pin the fabric to limit movement.

It was a struggle but it got done and I was so pleased that I persevered with the piping.

To finish off the catio, I covered the chair cushions and made a table cloth.

Looking chill and ready for 2023!